Connect ShipBob
Connect your ShipBob account with a Personal Access Token. When you create the connection, SKU.io subscribes to ShipBob's notifications and pulls your fulfillment centers, shipping methods, products, stock, orders, returns, and receiving orders, so the mapping pages fill in straight away.
Before you begin
- You need permission to create integrations. Without it, the Connect ShipBob button doesn't appear.
- You need access to your ShipBob dashboard to generate a token.
- You can connect one ShipBob account. Before you connect, the ShipBob panel reads Single instance only.
- Decide how far back to import ShipBob orders. The first import pulls orders created on or after the Sync Start Date.
Generate a token in ShipBob
- Log in to your ShipBob dashboard.
- Go to Integrations → API Tokens.
- Click Generate New Token and copy your Personal Access Token. Give the token read and write access, including the
billing_readpermission if you'll turn on billing. A token without it works for orders and stock but can't read your bills.
A token from your live ShipBob dashboard works only against ShipBob production. A token from ShipBob's sandbox works only against the sandbox. See How the ShipBob integration works.
Create the connection
-
Go to Apps & Integrations and choose ShipBob under Shipping & Fulfillment.
-
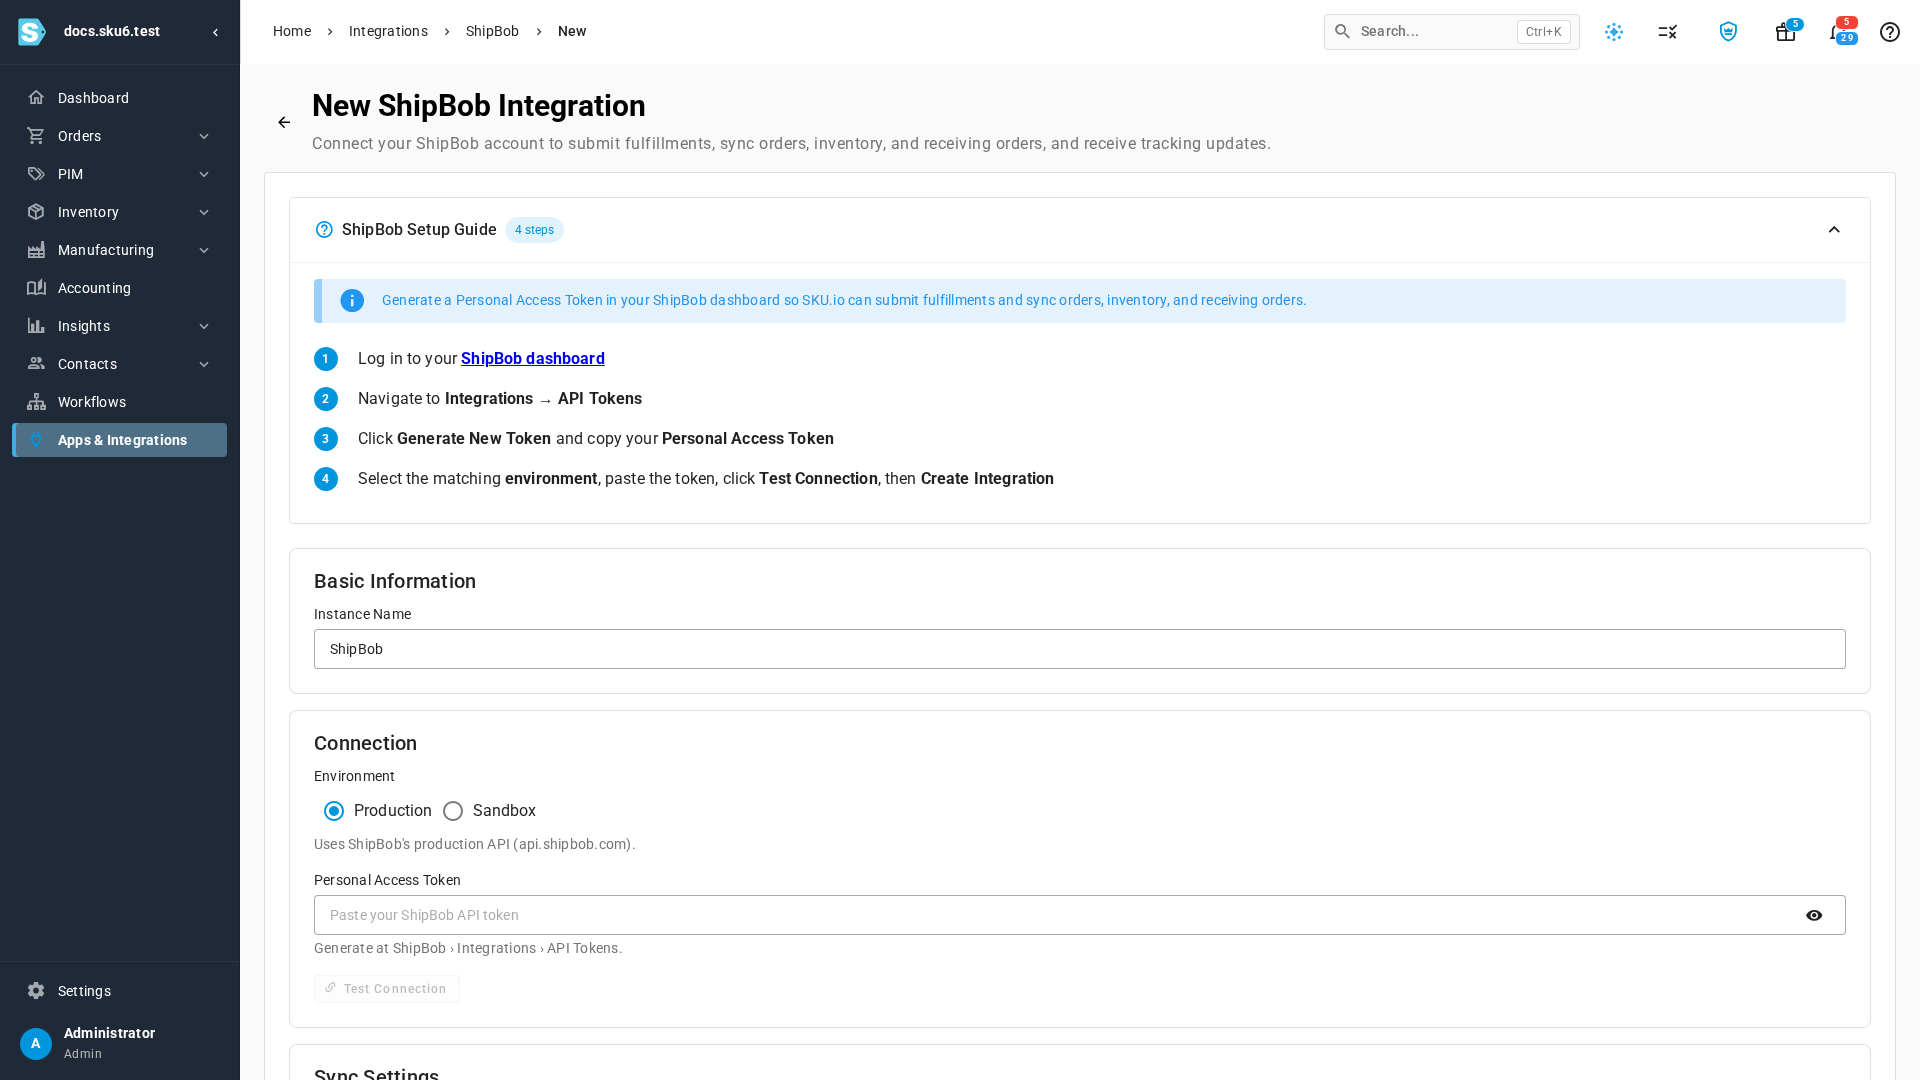
Click Connect ShipBob. The New ShipBob Integration page opens, with the ShipBob Setup Guide open at the top.
-
In Instance Name, keep ShipBob or type a name you'll recognize. The name appears in breadcrumbs and on the ShipBob panel.
-
If the Environment choice appears, select Production or Sandbox to match your token. The hint under it names the ShipBob address SKU.io uses. On a live SKU.io account the form has no Environment choice and always connects to production.
-
Paste the token into Personal Access Token. Click the eye icon to check what you pasted.
-
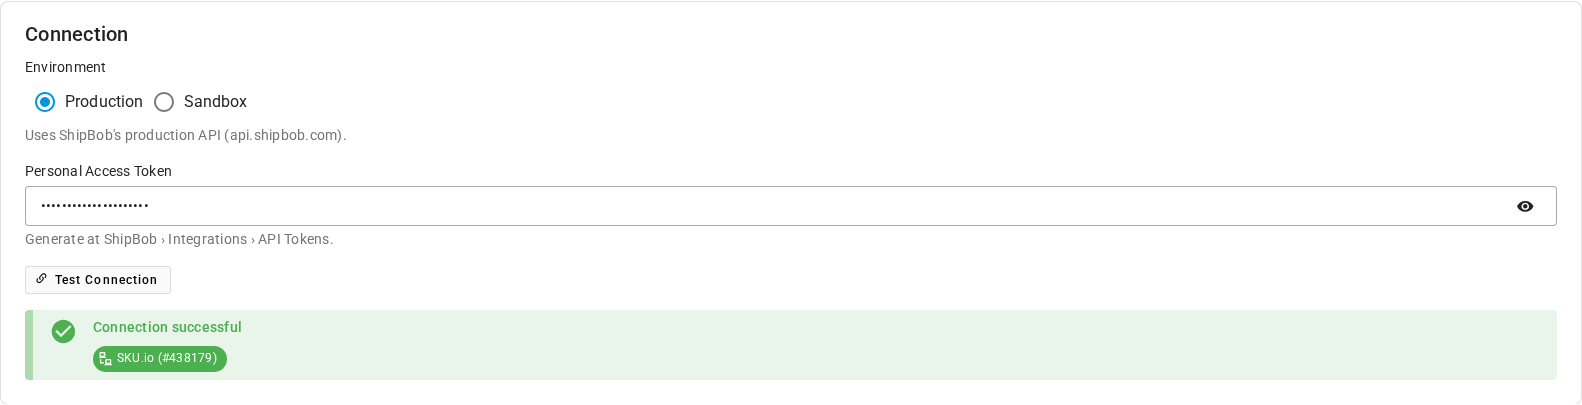
Click Test Connection. You can't skip this: Create Integration stays unavailable until the test passes, because the test checks the token and finds the channel SKU.io writes orders to.
What you'll see: Connection successful, with a chip for each ShipBob channel the token can write to, for example SKU.io (#438179).
-
If more than one channel appears, choose the Write Channel. Every order SKU.io creates in ShipBob belongs to this channel. SKU.io preselects the channel ShipBob created for API access when the token has one. With only one channel, there's nothing to choose.
-
Under Sync Settings, check the Sync Start Date. It's filled in with 30 days ago, and you can't pick a date in the future. If you clear it, the first import still starts 30 days back.

-
Leave Record shipping costs on to add each shipment's ShipBob invoice amount to its SKU.io fulfillment as a shipping cost. Turn it off to keep ShipBob charges out of fulfillment financials.
-
Click Create Integration. The button reads Validating... and then Creating integration... while it works.
What you'll see: a ShipBob integration created message, and the connection's Dashboard opens.
What happens after you create it
SKU.io starts these in the background. Follow their progress in the job tray, the Background jobs icon in the top bar.
- Notifications. SKU.io subscribes to ShipBob's order, shipment, return, and receiving notifications. The Webhooks tab lists each one.
- Setup data. SKU.io pulls fulfillment centers, shipping methods, products, and stock. These run whatever your sync settings say, because the mapping pages need them.
- History. SKU.io pulls orders back to the Sync Start Date, plus returns and receiving orders.
- The schedule. Enable automatic syncing and every entry under Entities to Sync start on, so the scheduled syncs begin. See How the ShipBob integration works.
Nothing goes to ShipBob yet. Orders route to ShipBob only after you map a fulfillment center to a warehouse.
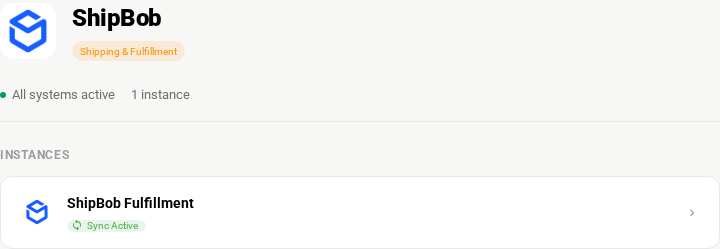
To reopen the connection later, go to Apps & Integrations, choose ShipBob, and click your connection under Instances.
If ShipBob is already connected
The ShipBob panel doesn't offer Connect ShipBob once a connection exists. If you reach the New ShipBob Integration page anyway, for example from a bookmark, it says ShipBob is already connected and Create Integration stays unavailable. Click Open the existing ShipBob connection, and change its token or settings there.

If something goes wrong
| What you see | What it means | What to do |
|---|---|---|
| A red message after Test Connection that starts "ShipBob did not accept the API token — it may be wrong, expired or revoked." | The token is wrong, revoked, or for the other environment. The message goes on to name the address SKU.io tried and which kind of token it expected. | Generate a new token in the right ShipBob environment, paste it, and test again. |
| Could not reach ShipBob. Please try again., with a Retry button | ShipBob didn't answer. | Click Retry. |
| No writable channel found on this token — writes require a channel with the required scopes. | The token can read but can't create orders. | Generate a token with read and write access in ShipBob, then test again. |
| A message that an integration with your name already exists, and the name changes to, for example, ShipBob 2 | Integration names must be unique across all your integrations. | Keep the suggested name or type another, then click Create Integration again. |
More fixes are in ShipBob troubleshooting.
Next steps
- Map ShipBob fulfillment centers to warehouses — turn order routing on.
- Map ShipBob shipping methods — choose the ShipBob service for each shipping method.
- Map ShipBob products — pair ShipBob items with your products.
- ShipBob settings reference — every field you can change later.