How onboarding works
Setting up SKU.io is a guided journey from a fresh account to a live, connected operation. This page explains the shape of that journey — the five phases, the rules that keep it smooth, and what to have ready — so the step-by-step guides that follow make sense in context.
You don't have to hold this all in your head. When you sign in to a new account, the Getting started guide walks you through the essential steps in order and tracks your progress. You can leave and pick it up anytime.
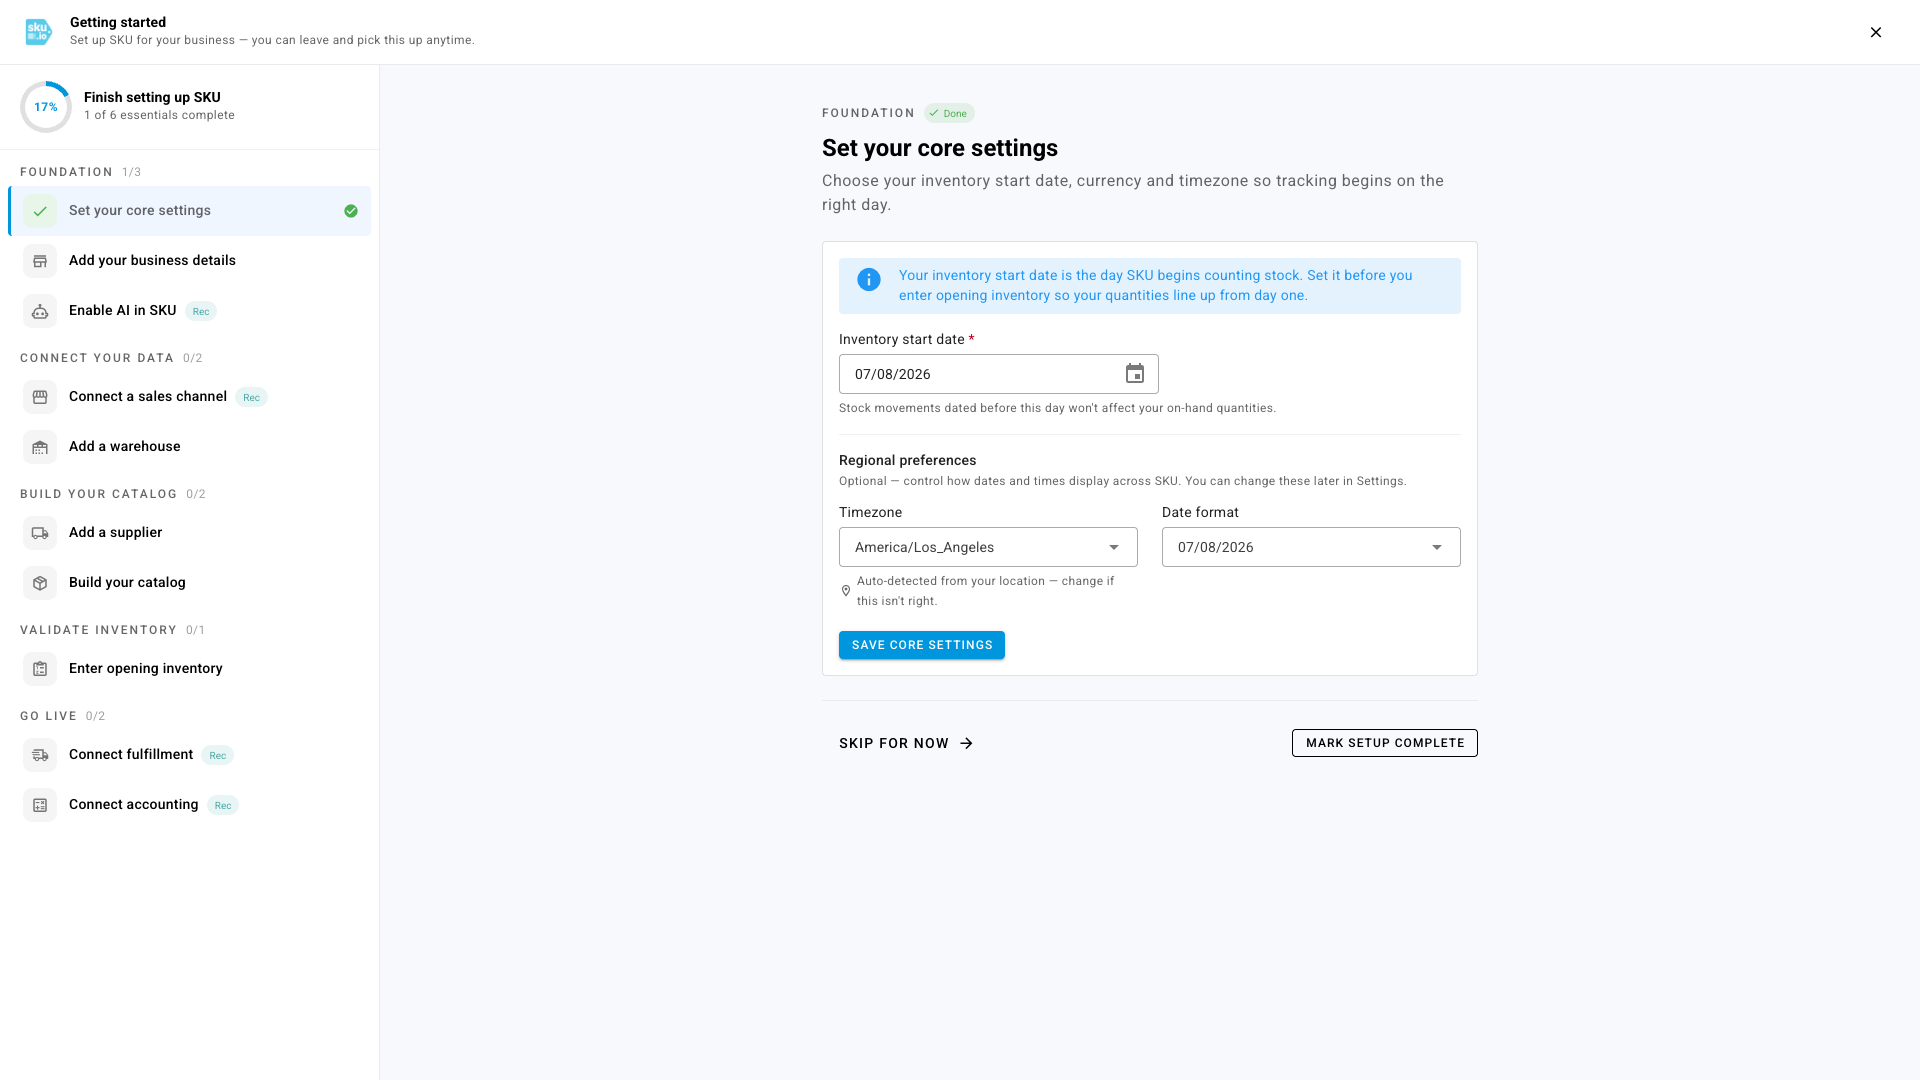
The five phases
Onboarding moves through five phases, in order. Each builds on the one before, so resist the urge to jump ahead.
- Foundation — Set your core settings (inventory start date, currency, timezone), add your business details, and turn on AI assistance. These are painful to change later, so they come first.
- Connect your data — Connect your sales channels and fulfillment platforms, and add your warehouses. This is where your real product and order data starts flowing in.
- Build your catalog — Turn imported data into a clean catalog: seed products from your strongest channel, set up kits and bundles, then enrich items with dimensions, costs, and lead times.
- Validate inventory — Enter your opening stock and confirm your numbers match your warehouse and 3PL reports on a known date.
- Go live — Cut over from staging to production, turn on order sync, and monitor the first days closely.
Accounting is deliberately the last thing you connect — about a month after go-live — so your operational data is settled before it flows to your books.
Golden rules
These seven rules prevent the most common (and most painful) onboarding mistakes. They're worth reading before you touch a single setting.
- Set currency, timezone, and inventory start date first. They're hard to change once data depends on them.
- Configure kits and bundles before importing sales orders. Otherwise orders import without expanding into their components.
- Keep auto-dispatch off during testing and the early days after launch, so nothing ships before you have verified the flow end to end.
- Connect accounting last — about 30 days after go-live, on the first of a month. Keep auto-sync off until a test batch reconciles cleanly. If you use A2X, disable direct-to-consumer income posting in SKU.
- Match opening inventory to your 3PL and FBA reports on a single, named date.
- Decide your fulfillment approach before testing — see Option A vs Option B below.
- Freeze your old systems at go-live. Put spreadsheets and legacy tools in read-only mode so there is one source of truth.
Before you begin
Gather these before you start so you aren't blocked mid-setup:
- Admin access to every sales channel, fulfillment platform, and accounting system you plan to connect.
- Your warehouse list, including any 3PL or FBA locations.
- Your supplier list with payment terms and lead times.
- Any open purchase orders not yet received.
- Your latest inventory count with the date it was taken.
- Brand assets — logo and company details for packing slips and emails.
Staging, then production
The standard path is to build and test in a staging environment first, then cut over to production when everything checks out. When you go live, your configuration carries over — settings, catalog, kits and bundles, suppliers, and saved views — but orders and inventory don't. You enter opening stock fresh in production so your live numbers start from a clean, verified baseline.
If an implementation partner is helping with your rollout, they may handle some of these steps for you — but the flow is the same.
Fulfillment routing: Option A or Option B
Before you test fulfillment, decide how orders reach your warehouses and 3PLs:
- Option A — route from day one. SKU routes and dispatches fulfillment as soon as you go live. Best when you are ready to run operations through SKU immediately.
- Option B — phase it in. You go live on orders and inventory first, and turn on SKU-driven routing once the team is comfortable.
There is no wrong answer, but choosing early shapes how you set up routing rules and run your end-to-end test.
The onboarding series
The guides in this section walk the five phases above. The Getting started guide inside the app handles the click-by-click; these pages cover the decisions, sequencing, and cross-system work that the product can't show you inline.
- Before you start — what to gather first
- Set your foundation — the choices that are painful to change later
- Build a clean catalog — seed, then bundle, then enrich
- Validate, then go live — test with auto-dispatch off, reconcile, cut over
- Go-live gates — the all-green checklist
- Connect accounting — the deliberate last step
Next steps
- Gather your prerequisites in Before you start.
- Prefer to explore by task? Jump to the Guides.