Send stock to FBA with an inbound plan
An inbound plan is Amazon's "Send to Amazon" workflow, run inside SKU.io. You choose what to send and where it ships from, SKU.io checks the stock and submits the plan, and then you pack boxes, choose where Amazon receives the units, book transport, print labels and track the shipments in, without opening Seller Central. Along the way SKU.io holds the stock at your source warehouse, moves it to in-transit when it ships, and into your FBA stock as Amazon receives it.
Before you begin
- FBA tracking is on for the connection. See Turn on FBA inventory tracking.
- The products you're sending are mapped to their FNSKUs under FNSKU Product Mapper.
- You have permission to sync integrations.
- If a 3PL or supplier ships the stock for you, also read Hand an FBA inbound plan to a 3PL or supplier.
Open FBA Inbound
Go to Apps & Integrations, open your Amazon connection, click FBA, then open FBA Inbound. The Overview shows what needs you: Restock recommendations, Drafts in progress, Active plans, shipments Awaiting receipt > 14 days, Receipt discrepancies and Errored shipments.
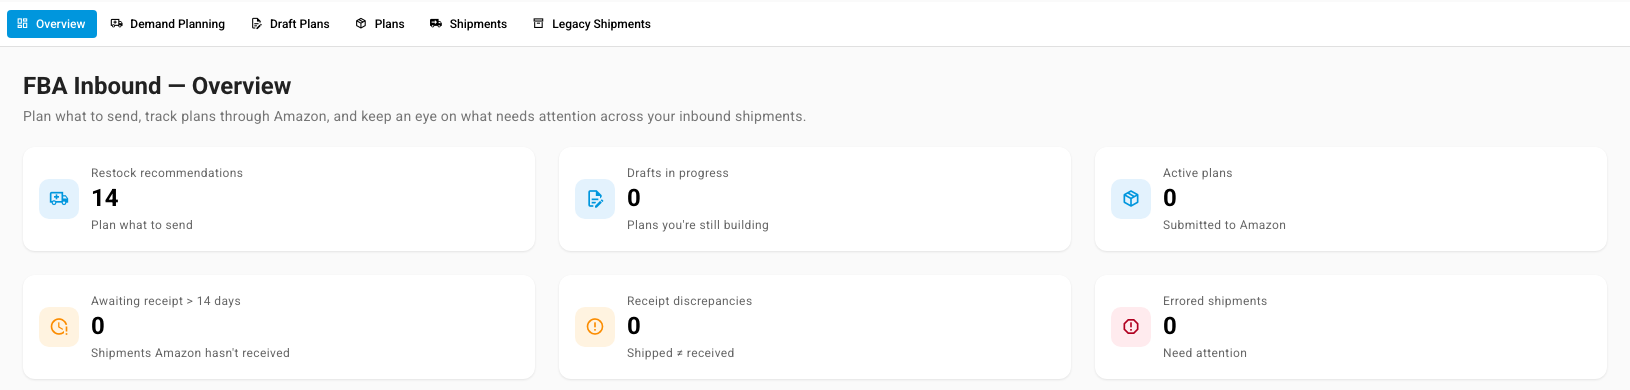
The tabs across the top hold the rest: Demand Planning (what to send), Draft Plans, Plans (submitted to Amazon), Shipments and Legacy Shipments.
Start a plan
You can start from either end:
- From what needs restocking. Open Demand Planning, add products to the cart, and click Create Inbound Plan. Name the plan and click Create & Continue.
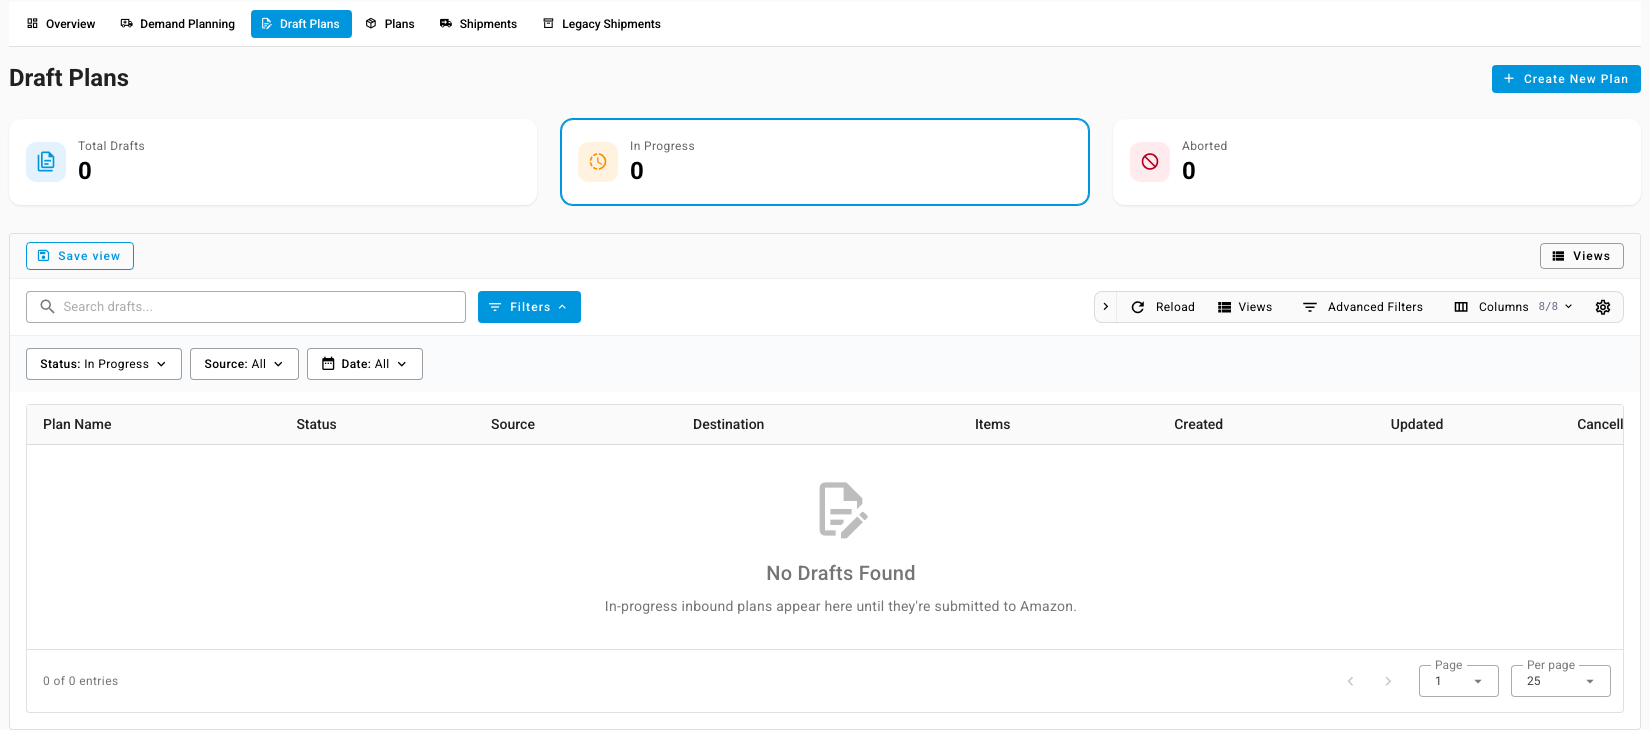
- From scratch. Open Draft Plans and click Create New Plan.
The plan opens on a stepper of nine steps. Steps that depend on Amazon stay locked until Amazon has answered the one before.
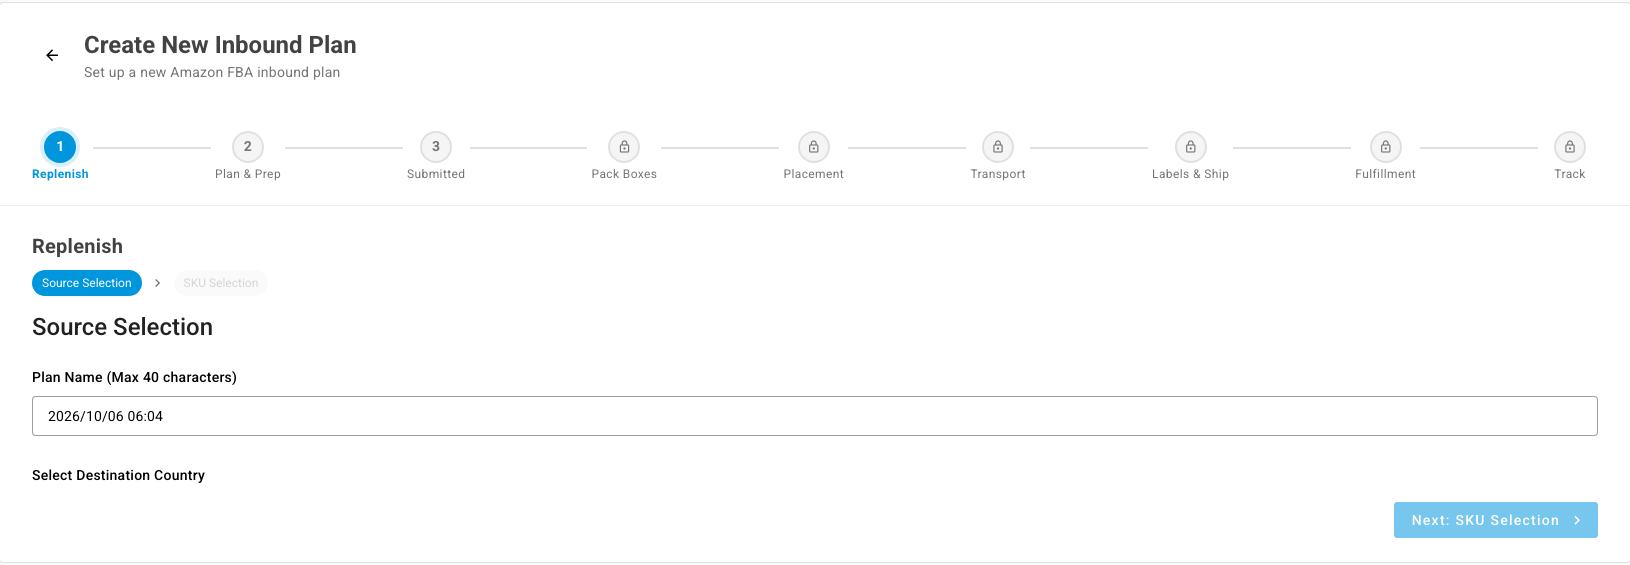
Replenish: choose the source and the products
- On Source Selection, keep or change the Plan Name (40 characters at most) and choose the destination country under Select Destination Country.
- Choose where the stock ships from: a Warehouse (a Direct Warehouse you run, or a 3PL Warehouse) or a Supplier that ships straight to Amazon. Then pick the warehouse or supplier, and click Next: SKU Selection.
- On SKU Selection, add products with Manual Search (by SKU, MSKU, ASIN, FNSKU or name), Bulk Add, or from Demand Planning, and enter each Send Quantity.
- For a kit, choose under Kit Fulfillment whether to Ship Kit Stock you already have or Build From Components. SKU.io shows how many kits are on hand and how many the components can build.
Plan & Prep: verify stock and set prep
- On Verification, confirm the stock is there. For your own warehouse, click Verify Inventory. SKU.io then holds the units at the source warehouse for this plan. If there isn't enough, choose Accept Verified Quantities or Modify Quantities.
- On Configuration, set who labels and preps each item (Label Owner and Prep Owner: you, Amazon or none), plus Expiration Date and Lot Code where they apply. Bulk Configuration sets them for many items at once.
Submit, pack and place
- On Submission, click Submit Plan to Amazon, review the items, and confirm. Amazon accepts or rejects the plan.
- On Pack Boxes, click Generate Packing Options, then Confirm Packing Option. For each packing group, add boxes and scan or enter the units in each box, or Import CSV. Readiness Checks confirms every box has dimensions and weight and the packed quantities match the plan. Then click Submit All Box Contents.
- On Placement, choose where Amazon receives the units. See the next section.
Choose a placement option and its fee
Amazon offers several placements: one fulfillment center, or a split across several. Each option card shows Amazon's estimated placement fee, the fee per unit, and, if you use your own carrier, an estimated transport cost. The options are sorted by fee and the cheapest is selected for you. Chips such as Lowest fee, Cheapest all-in and Amazon-optimized help you compare, and Estimate transport costs fills in the transport figures.
Pick an option, click Confirm Placement Option, tick I understand this shipment split is final and cannot be changed, and click Confirm Placement. Amazon then creates the shipments, and SKU.io creates one warehouse transfer per shipment from your source warehouse to your FBA stock location (a supplier-sourced plan gets one purchase order per shipment instead).
The placement fee shown is Amazon's estimate, and SKU.io shows it only while you choose. Amazon bills the actual fee about 45 days after it receives the units.
Transport, labels and tracking
- On Transport, enter the Ready-to-ship date and choose Small Parcel or Pallets (LTL), then click Generate Transportation Options. Choose the Amazon Partnered Carrier, or your own carrier with a confirmed delivery window, and click Confirm Transportation.
- On Labels & Ship, print what you need from the Print center: FNSKU item labels, Box labels, the Packing list, Pallet labels for pallets, and the Bill of lading.
- When each shipment leaves, click Mark as Shipped. SKU.io moves its units to in-transit on the shipment's warehouse transfer. With your own carrier, enter the tracking IDs and click Save Tracking.
- On Track, follow each shipment from shipped to checked in, receiving and closed. As Amazon receives units, SKU.io adds them to your FBA stock. The Reconciliation section compares shipped with received; see Reconcile what Amazon received.
To stop a plan, click Cancel plan, or Void on Amazon & cancel plan once it's submitted. The stock held at the source warehouse is released.