Connect Mercury
Connect your Mercury business account so SKU.io can see your accounts and send supplier payments from them. You connect once for your whole team. SKU.io works with one Mercury connection at a time: once you're connected, the Mercury panel's instance card (and Add Instance) opens that connection.
Before you begin
- You need the Integrations → Create permission to connect, Integrations → Edit to test the connection or register webhooks, and Integrations → Delete to disconnect.
- For Connect Mercury, you need to be able to sign in to your Mercury account and authorize SKU.io.
- For Connect with API token, you need a Mercury API token. A Mercury admin creates it in Mercury → Settings → API Tokens. Use a token for sandbox or developer testing; use Connect Mercury for your live account.
Connect your account
-
In the sidebar, go to Apps & Integrations → All Integrations.
-
Under Bill Payments, choose Mercury.
-
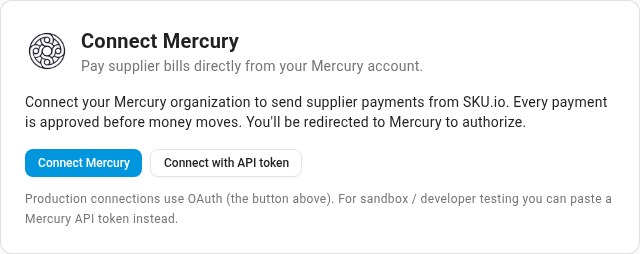
In the Mercury panel, click Add Instance. The Connect Mercury card opens.
-
Click Connect Mercury. SKU.io takes you to Mercury.
-
Sign in to Mercury and authorize SKU.io. Mercury sends you back to SKU.io, which opens the Accounts tab with your Mercury accounts and their balances.
Connect with an API token instead
-
On the Connect Mercury card, click Connect with API token.
-
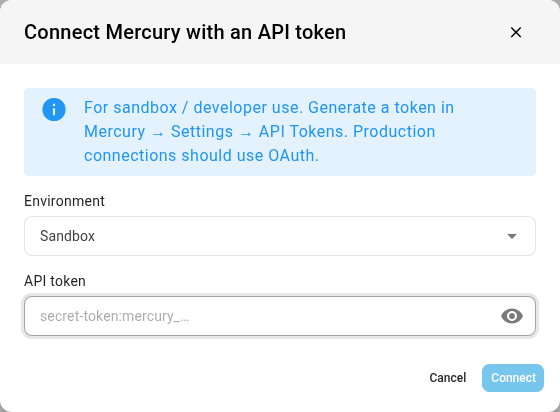
In Environment, choose Sandbox or Production, to match where the token was created.
-
Paste the token into API token. Click the eye icon to check what you pasted.
-
Click Connect. If Mercury accepts the token, you see Mercury connected and the Accounts tab opens. If not, the message from Mercury tells you why, for example "Mercury rejected this API token".
Check your accounts
The Accounts tab lists every Mercury account the connection can see, with its type and available balance, and shows which one pays by default.
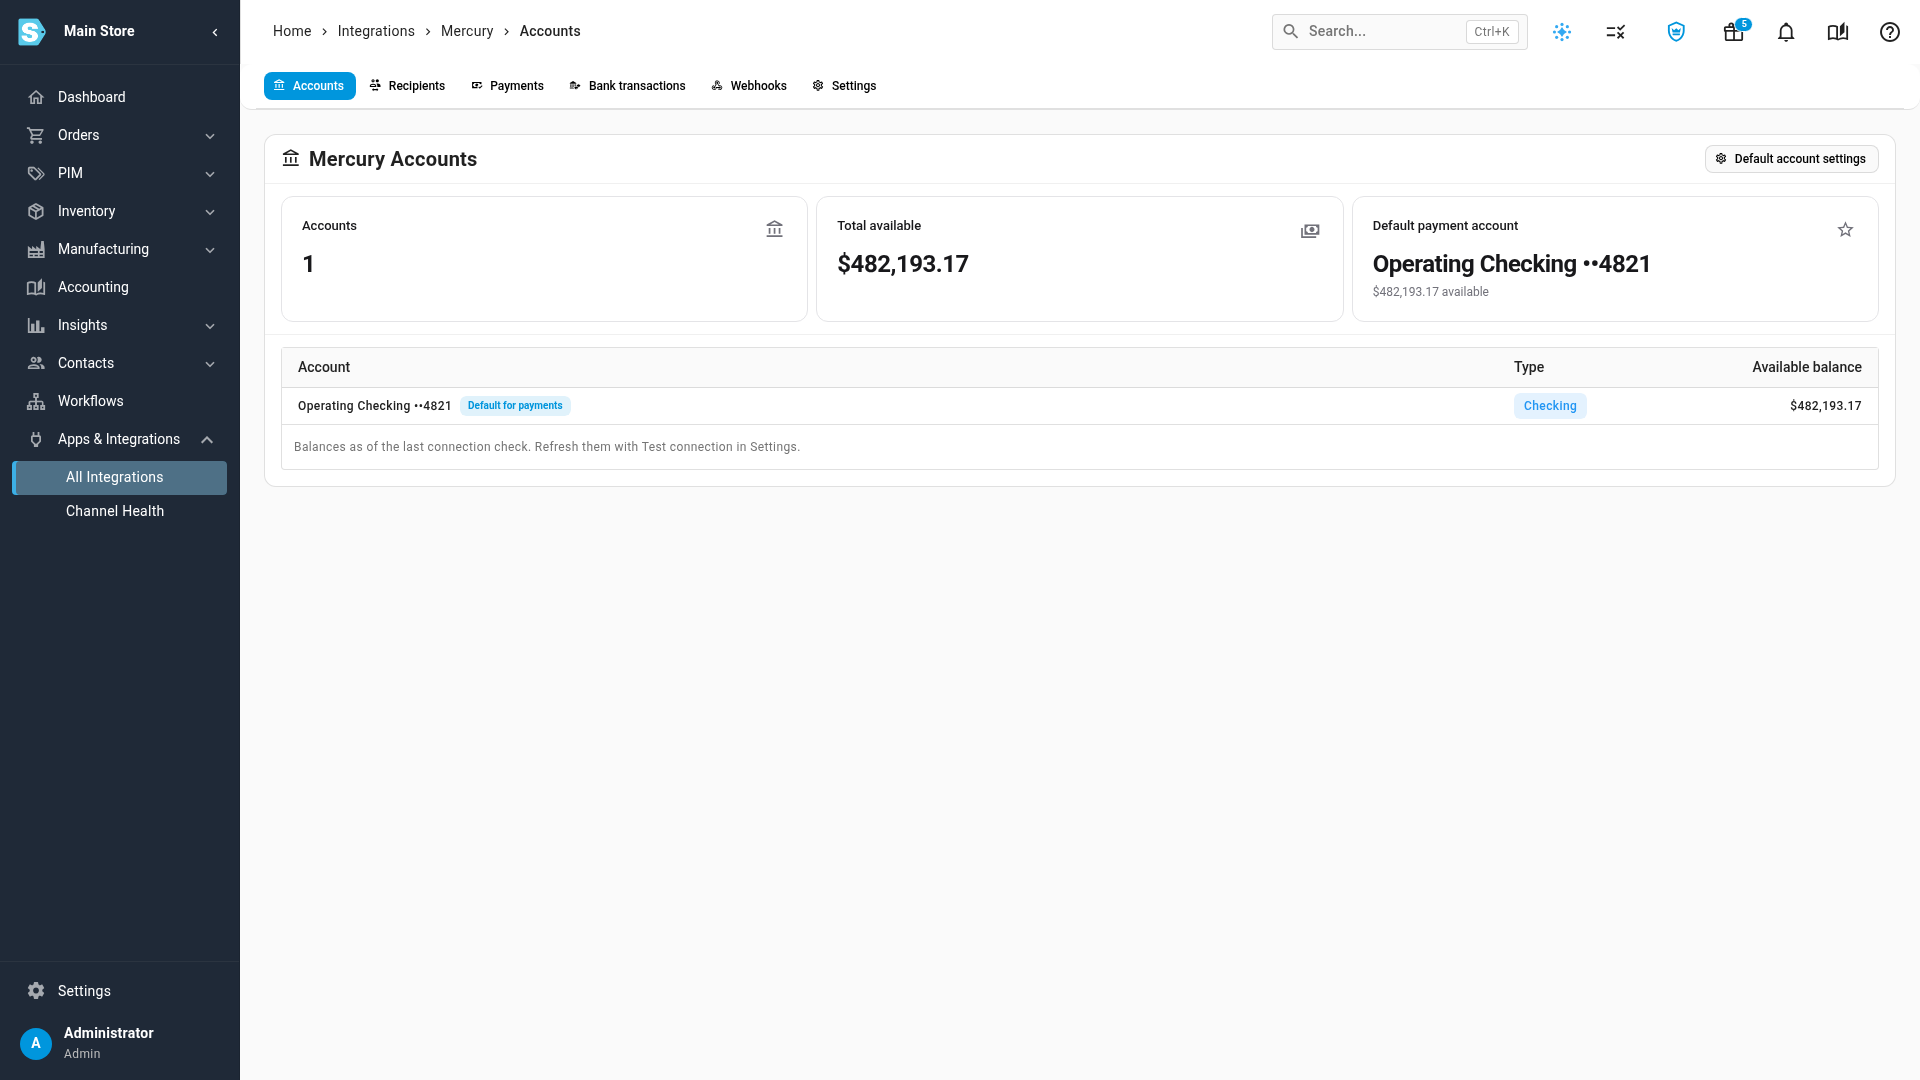
Balances are as of the last connection check. To refresh them, click Test connection on the Settings tab.
Check the token's permissions
- Click the Settings tab.
- In the Connection card, click Test connection.
- Read the Token permissions table. Each row is something SKU.io needs the token to do, what it's used for, and whether the token allows it.
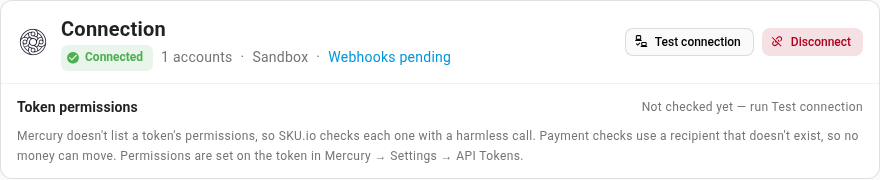
Mercury doesn't list a token's permissions, so SKU.io checks each one with a harmless call. Payment checks use a recipient that doesn't exist, so no money can move. If a permission you need is missing, change it on the token in Mercury → Settings → API Tokens, then click Test connection again.
The permission to send money directly, without Mercury approval, is only needed if your payments are approved in SKU.io. Mercury also requires SKU.io's servers to be on that token's IP allowlist.
Register webhooks
Webhooks let Mercury tell SKU.io the moment a payment's status changes. Without them, changes still arrive, through SKU.io's regular checks (at least once an hour), only later.
- Click the Webhooks tab.
- If Webhook Subscription says Not registered, click Register webhook.
- Click Check with Mercury at any time to see the subscription's status in Mercury.
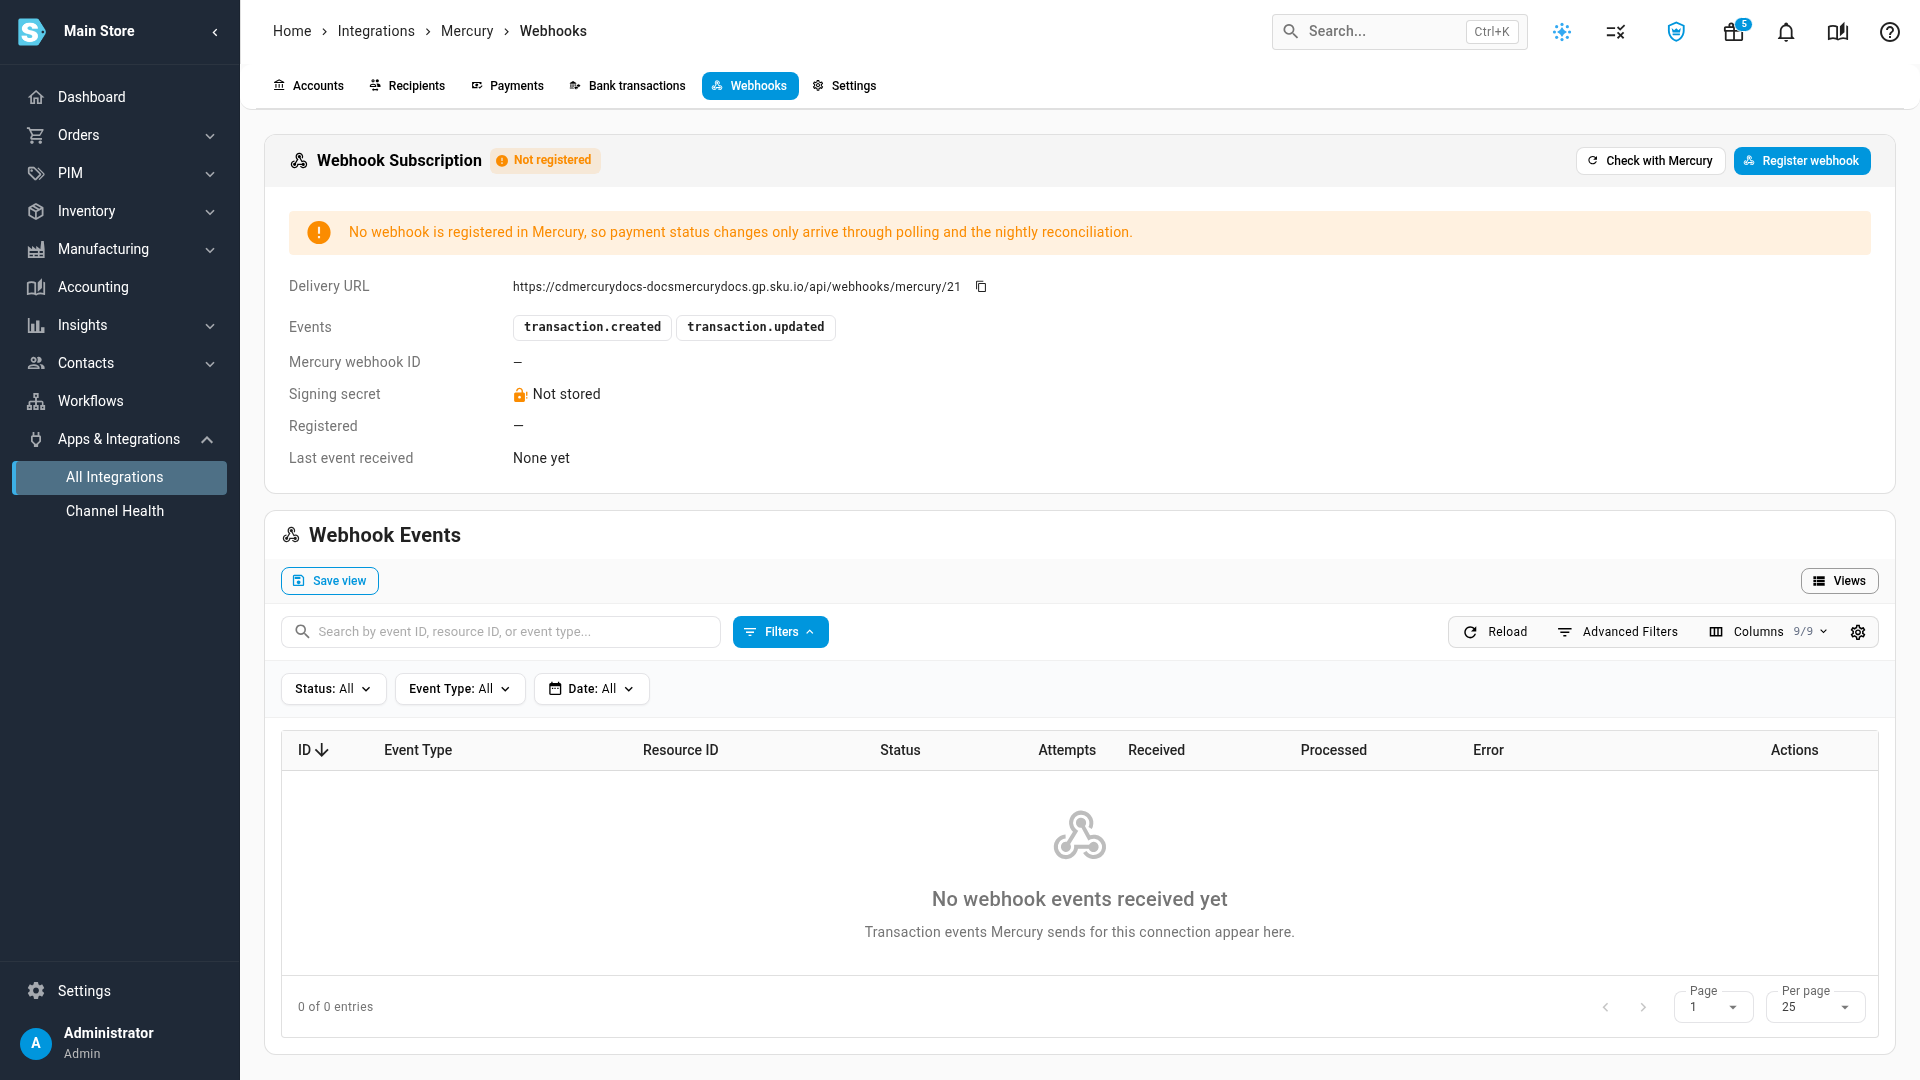
The Webhook Events table below lists every update Mercury has sent, whether it was processed, and any error. See Mercury reference.
Disconnect Mercury
- On the Settings tab, click Disconnect and confirm.
SKU.io stops sending payments, removes its webhook from Mercury and stops receiving updates. Payments already recorded on your bills and deposits stay. The connection's own history is deleted from SKU.io: the Payments and Bank transactions lists, and the links between your suppliers and Mercury recipients. Payments still waiting for approval in Mercury aren't touched there, so approve or decline them in Mercury.
If you reconnect later, check the Recipients tab and link any supplier whose recipient isn't linked again.