Sync due dates to Google Calendar
SKU.io can put upcoming payments on your own Google Calendar: when a supplier deposit is due, when a purchase order's next payment milestone lands, and when a purchase invoice has to be paid. Events stay current on their own. Change a due date in SKU.io and the event moves; pay or void the record and the event goes away.
The sync runs one way, from SKU.io to Google. Editing or deleting an event in Google Calendar doesn't change anything in SKU.io, so make changes to the record instead.
What you can sync
| Sync | Turn it on from | Each event shows |
|---|---|---|
| Purchase Order Cash Flow | Orders → Purchase Orders → Cash Flow Schedule | The supplier, the amount, the milestone and the PO number. Every dated row from the schedule, including estimated ones. |
| Vendor Deposits | Orders → Vendor Deposits | The supplier, the amount and the milestone, for each deposit that's still open. Paid, applied, refunded, written-off and void deposits drop off. |
| Invoice Payment Due Dates | Orders → Purchase Invoices | The supplier, the amount due and the invoice number, for each outstanding purchase invoice or landed cost bill with a due date. Google reminds you 7 days and 1 day before. |
Each sync covers your whole account, not only records you created. Everyone who turns a sync on gets the same events on their own calendar.
Before you begin
- You need a Google account with a calendar you can add events to.
- The connection is yours alone. Each person who wants the events connects their own Google Calendar and turns on the syncs they want.
Steps
1. Connect Google Calendar
-
Go to Apps & Integrations and open Google.

-
On the Google Calendar card, click Connect.
-
In the Google window, choose your account and allow SKU.io to manage calendar events. Allow pop-ups for SKU.io if your browser blocks the window.
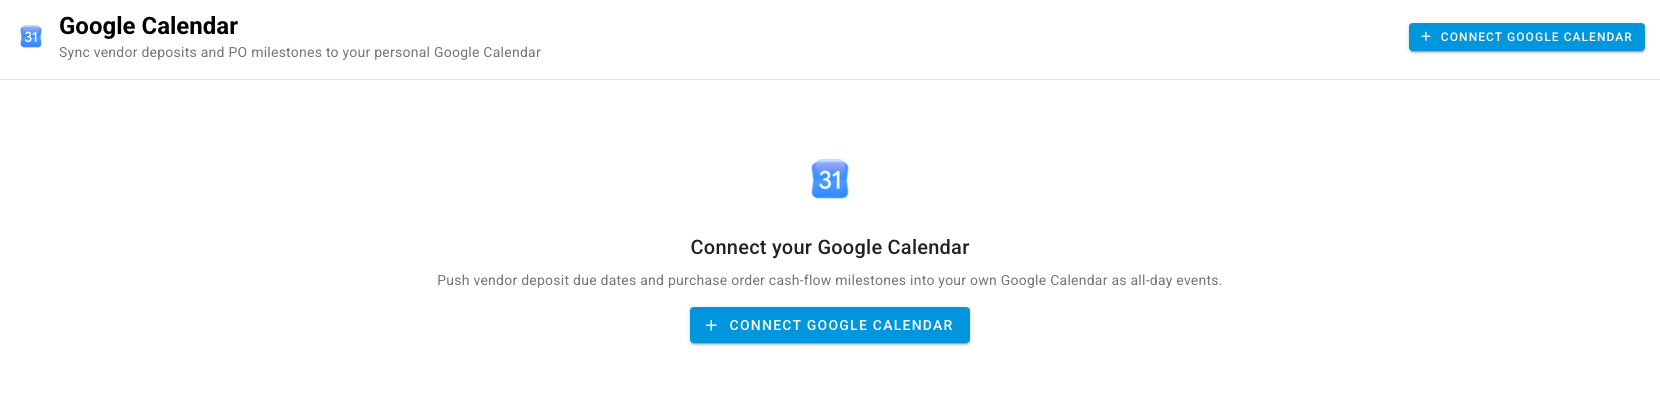
The card changes to Connected and shows your Google email address. You can also start from the Connect Google Calendar button on the Google Calendar page itself.
2. Choose where events go
On the Google Calendar card, click Manage to open its settings. Under Sync Settings:
- Pick the Target Calendar. It defaults to your primary calendar. A separate calendar, such as one named Payables, is easier to show and hide.
- Pick the Event Format:
- All-day (the default) puts each payment at the top of the day.
- Timed puts it at a set time. Choose the Event Time (local), such as 07:00.
- Click Save Changes.
Click Test Connection at any time to check that SKU.io can still reach your calendar.
3. Turn on a sync
Each sync is switched on from the page it belongs to. A Sync to Google Calendar card sits at the top of the page.

- Go to the page, for example Orders → Purchase Invoices.
- On the Sync to Google Calendar card, turn the switch on.
SKU.io confirms "Syncing invoice payment due dates to Google Calendar" and adds the events within a minute or two. Click Sync now on the card to refresh straight away, and the gear icon to jump back to the calendar settings.
If the card shows Connect Google Calendar instead of a switch, you haven't connected yet. Go back to step 1.
4. Check what's syncing
The Google Calendar settings page lists your Active Syncs. Each one shows Syncing, or Subscribed but currently paused if it's switched off. Click one to go to its page.
Stop syncing
- To stop one sync, turn its switch off on its page. SKU.io removes that sync's events from your calendar.
- To stop everything, open the Google Calendar settings, open the ⋯ menu and click Disconnect. SKU.io removes every event it added. Use Reconnect in the same menu if Google asks you to sign in again.
Next steps
- Cash-flow schedule: where PO payment milestones come from.
- Manage vendor deposits: deposit due dates and statuses.
- Track and pay purchase invoices: invoice due dates.
- Open a list in Google Sheets and pull edits back: the other half of the Google integration.