Connect Shippit
Connect Shippit with the API key from your Shippit merchant portal. Then map your couriers, decide whether to record Shippit's shipping fees, and send fulfillment orders to it.
Before you begin
- You need permission to connect integrations.
- In the Shippit merchant portal, go to Settings → Integrations and copy your API key. Keys only work in the environment they came from: a sandbox key against Sandbox, a live key against Production.
- Connect any courier accounts you want to use at your own rates in Shippit first.
Create the connection
-
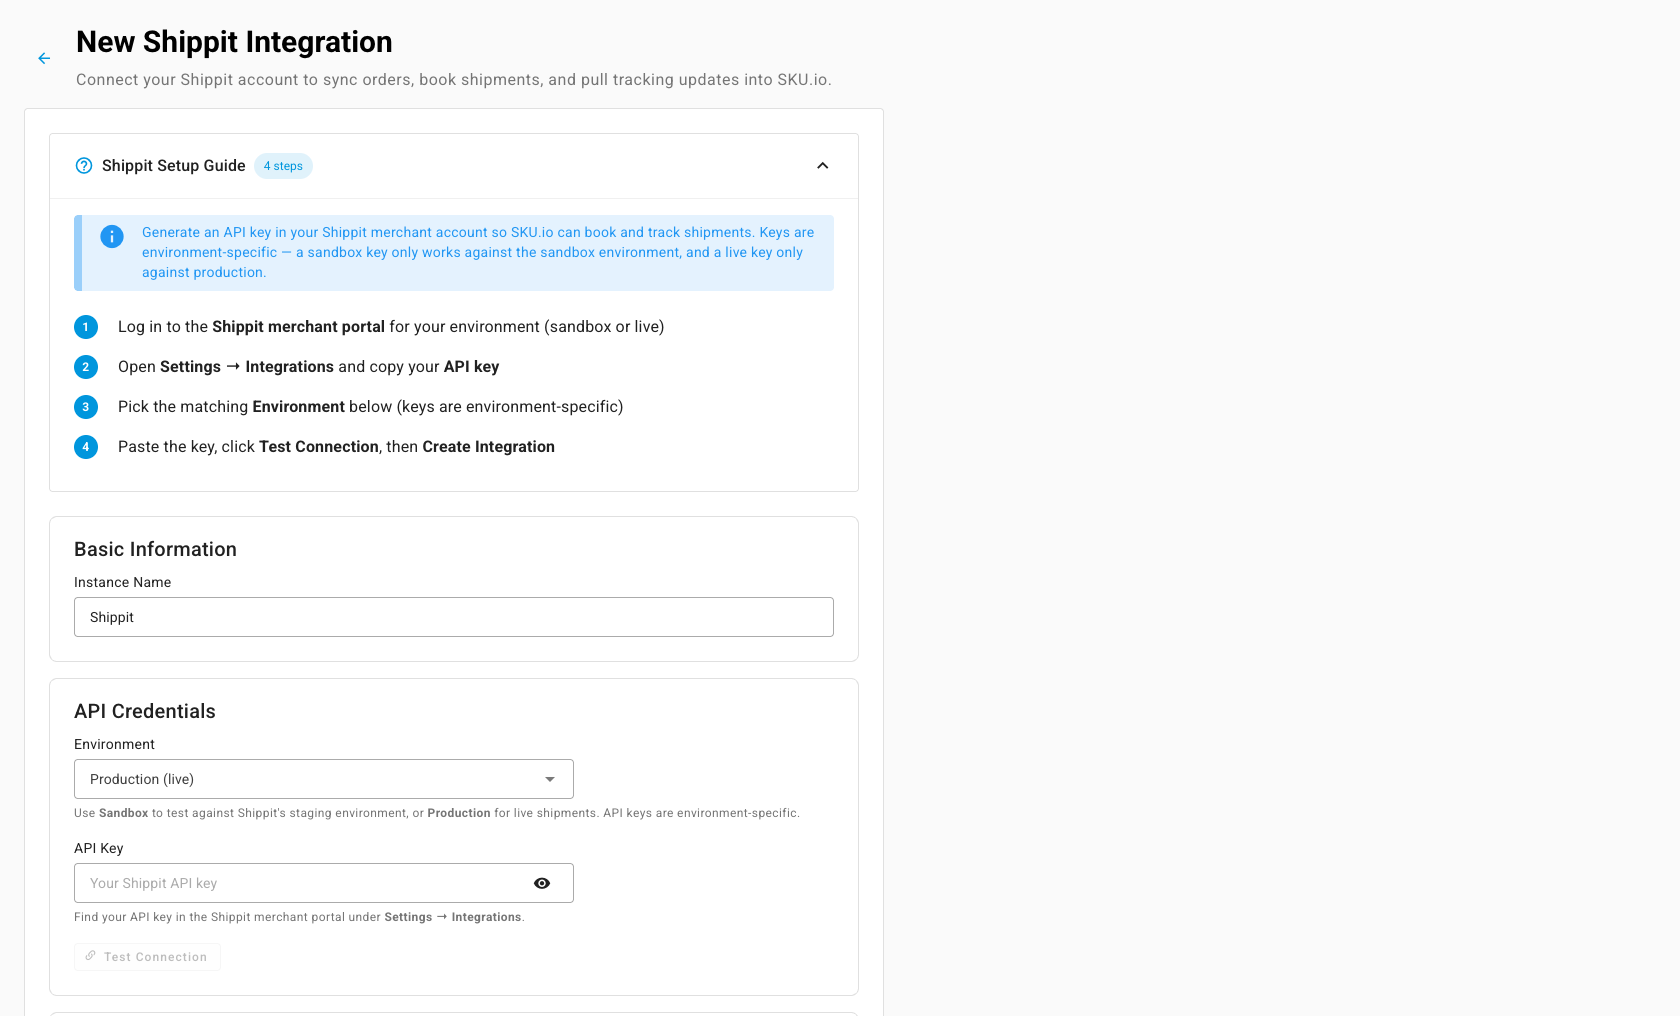
Go to Apps & Integrations, open Shipping & Fulfillment, and choose Shippit. The New Shippit Integration page opens.
-
Enter an Instance Name. It defaults to Shippit.
-
Choose the Environment: Production (live) or Sandbox (test).
-
Paste the API Key.
-
Click Test Connection. You must pass this test before you can create the connection. It shows Connected as: and your Shippit merchant name.
-
Under Options, turn on Record Shippit shipping costs back onto SKU.io fulfillments if you want each shipment's fee posted as a cost.
-
Optionally pick a Default Courier Type. Leave it blank to let Shippit choose for each order.
-
Click Create Integration.
What you'll see: the Dashboard opens, and the first syncs run in the job tray. SKU.io registers its webhook with Shippit for you. The Sync & Connection card shows Registered with Shippit.
Map couriers to shipping methods
- Open the Couriers tab. Click Sync couriers if it's empty.
- For each courier and service level, pick the SKU.io shipping method it stands for.
An order whose shipping method isn't mapped asks Shippit for your Default Courier Type instead. Changes save straight away and apply to new orders only.
Set the sender for each warehouse
Open the Warehouses tab and click Add Warehouse Mapping. Pick the SKU.io warehouse and enter the Sender Name Shippit should show. It defaults to the warehouse name.
Send a fulfillment order to Shippit
- Open the fulfillment order and click Edit Details.
- Under Shipping provider, pick your Shippit connection.
- Click Save Changes, then Submit.
What you'll see: the order appears on the Shippit Orders tab. Book it in Shippit. When Shippit despatches the parcel, SKU.io records the shipment and tracking, adds the cost if you record costs, and sends the tracking to your sales channel.
A Shippit order can't be changed from SKU.io once it's booked, processing, or despatched.
Settings to know
| Where | Setting | What it does |
|---|---|---|
| General | Default Courier Type | The courier type requested when an order's shipping method has no courier mapped |
| Sync | Sync Start Date | The date the From start date option in the sync dialogs starts from |
| Financial | Record shipping costs | Posts each shipment's fee, in AUD, to the fulfillment and as a financial line |
| Connection | Re-test Connection, API Key | Checks the key, or replaces it. Leave the key blank to keep the current one. |