Manage payment types
Every payment you record in SKU.io says how the customer paid: cash, card, bank transfer, a marketplace payout. Those choices are your payment types. You pick one each time you record a payment, the default one is used by Record Full Payment, and your accounting provider uses them to decide which bank account a payment lands in.
Before you begin
- You need the payment type permissions (create, edit, archive, delete) for the actions you want to take.
Create a payment type
-
Go to Settings → General → Payment Types.
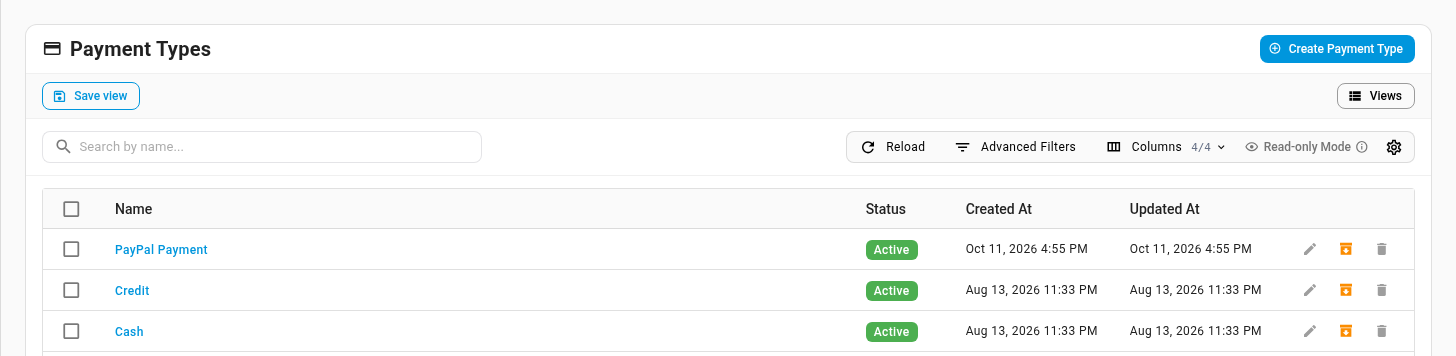
Some types are added for you. Credit is used when a payment is made with store credit, and connecting a payment provider or marketplace adds its own type, such as PayPal Payment.
-
Click Create Payment Type.
-
Enter a Name, for example Bank Transfer.
-
Click Create.
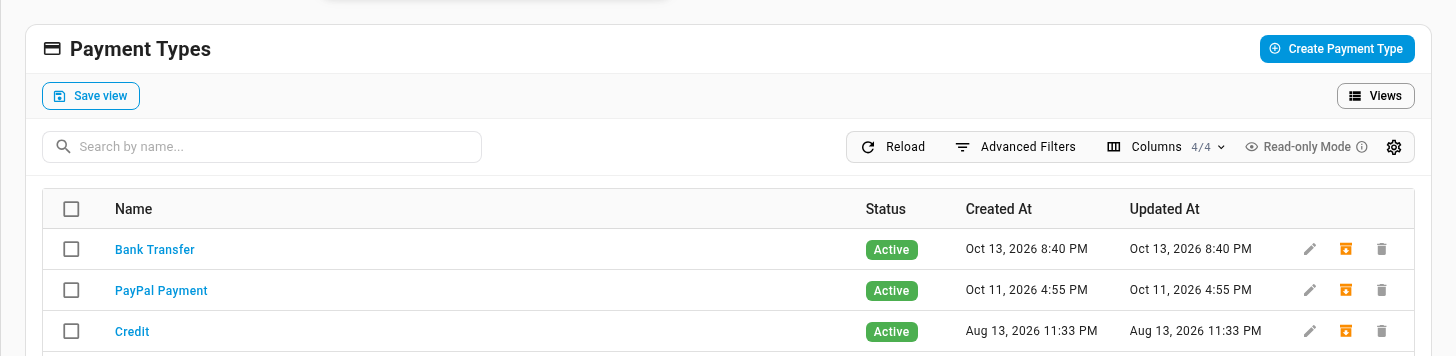
You can also create a type while recording a payment: type a new name in the Payment Type field of the Add Payment dialog and select Create payment type. To rename a type, click the pencil at the end of its row.
Set the default payment type
Record Full Payment on a sales order records the whole balance in one click, using your default payment type. Until you set one, SKU.io asks you to set it and opens the Add Payment dialog instead.
- Go to Settings → General → Sales Orders.
- In Default Payment Type, pick a type.
- Click Save Changes.
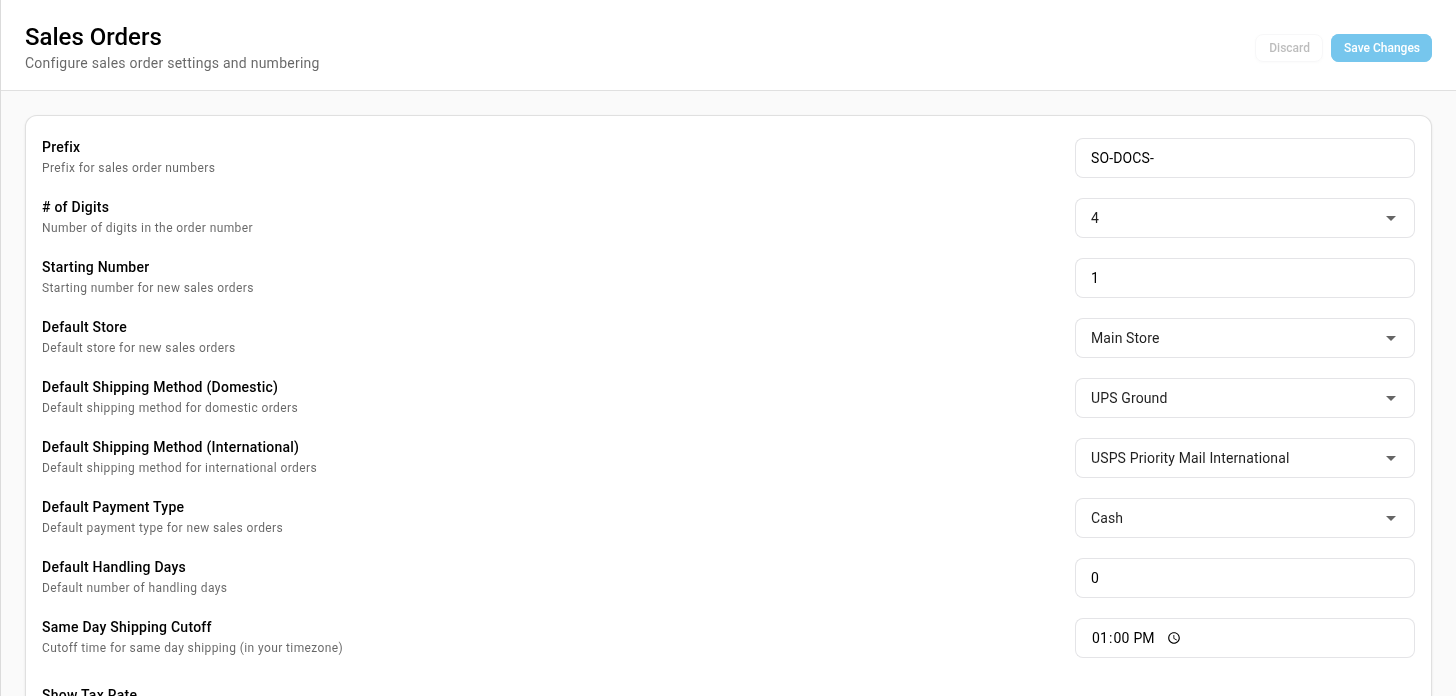
The same type is preselected when you record a payment by hand, and you can change it there. Purchase orders have their own default, the Payment Type under Settings → Purchasing → Purchase Orders.
Map payment types to your accounting provider
When payments sync to QuickBooks or Xero, each payment type decides which bank account the payment is deposited to. In QuickBooks, open Apps & Integrations, then your QuickBooks connection, and choose Mappings → Payment Methods.
- Click Load Bank Accounts to fetch your QuickBooks bank accounts.
- Pick a bank account for each payment type.
- Click Save Changes.
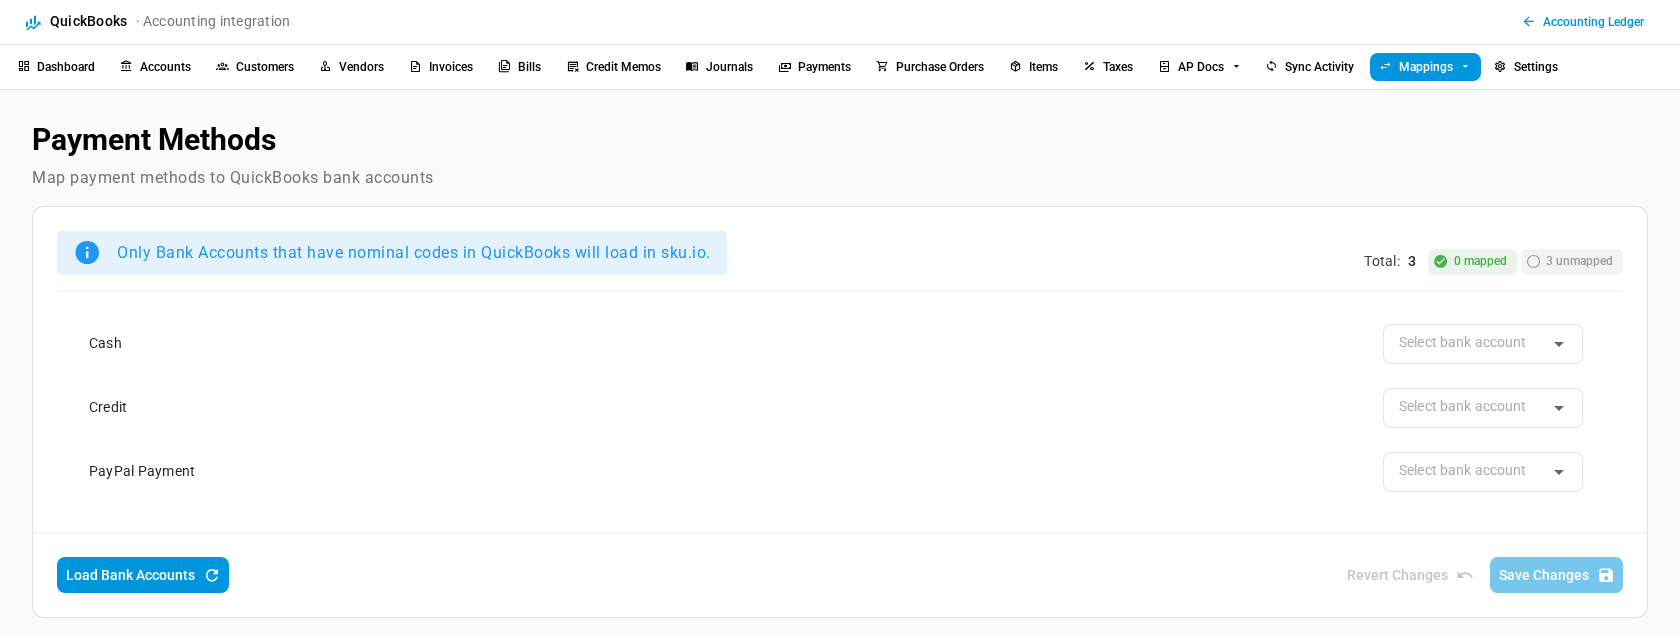
Only bank accounts that have an account code in QuickBooks are listed. Xero has the same mapping on its Payment Methods page. See Sync payments with your accounting provider for how payments then reach your books, and How PayPal payments reach SKU.io for the PayPal Payment type.
Archive or delete a payment type
- Archive a type you no longer take with the box icon at the end of its row. It disappears from the payment type pickers, and payments already recorded keep it. Bring it back from the Archived view at the bottom of the list.
- Delete a type with the bin icon. You can only delete a type that no payment uses, and Credit can't be deleted at all. Archive the others instead.
To work on several types at once, tick their boxes and use the buttons that appear above the list.
Next steps
- Record payments and store credit
- Sync payments with your accounting provider
- Collect payment with a PayPal pay link
Video transcript
Every payment you record says how the customer paid, such as cash, card or bank transfer. Those choices are your payment types. To manage them, open Settings, at the very bottom of the left sidebar. Click the General card at the top of the page to expand its list. Scroll down to Payment Types, further down the same list, and choose that entry. The page that opens lists every payment type in your account. Some types are added for you, like Credit for store credit, and PayPal Payment when you connect PayPal. To add your own, click Create Payment Type at the top right. Enter a name, like Bank Transfer, and then click Create, and the new type joins the list below. To stop offering a type, archive it with the box icon. Payments already recorded keep their type. You can only delete a type that no payment uses. One-click payments on sales orders use your default payment type. Set it under Sales Orders, in the same settings list on the left, and scroll down to the Default Payment Type field. Pick a type in Default Payment Type, and save your changes.