Manage your tag list
Tags are short labels, such as VIP, Wholesale or Back-order watch, that your team puts on products, sales orders, purchase orders, customers, bills and other records so you can filter, segment and report on them. Every tag in your account lives in one shared list under Settings → General → Tags. This page is where you tidy that list. To put a tag on a record, see the guides under Next steps.
Before you begin
- You need permission to manage tags. Each action (create, edit, archive, delete) has its own permission, and its button is hidden without it.
Open the tag list
-
Go to Settings → General → Tags.
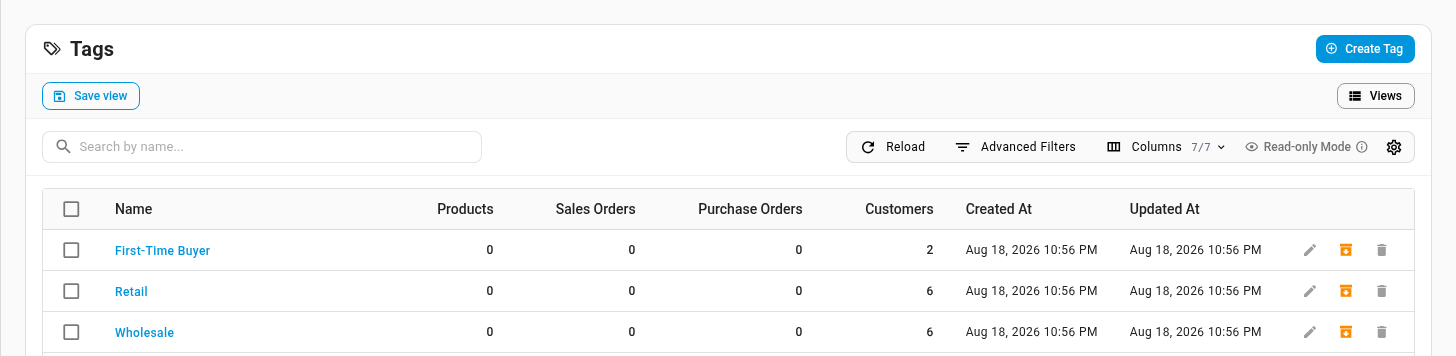
Each row counts the Products, Sales Orders, Purchase Orders and Customers that carry the tag.
Create a tag
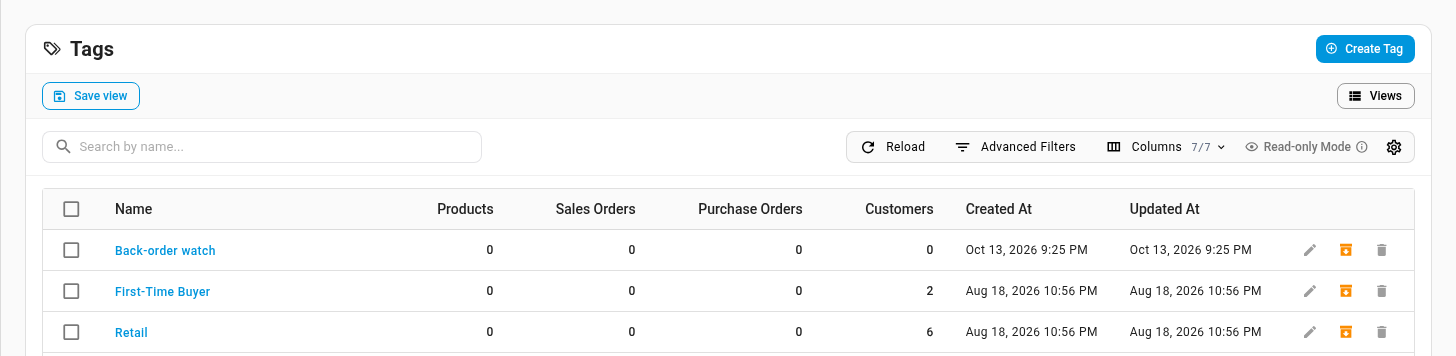
You don't have to create tags here first: typing a new name wherever you add tags to a record creates it. Create one here when you want it ready for your team before anyone uses it.
- Click Create Tag.
- Type the tag's name.
- Click Create.
Tag names aren't case-sensitive. Typing vip on a record uses the existing
VIP tag rather than creating a second one.
Rename a tag
- Click the pencil at the end of the tag's row.
- Change the name, and click Update.
Every record shares the same tag, so the new name shows on all of them straight away.
Archive a tag
Archive a tag you no longer want people to use, such as last season's campaign tag.
- Click the box icon at the end of the tag's row.
- Read the confirmation, and click Archive.
An archived tag:
- stays on every record that already has it, so nothing is taken off those records;
- is no longer offered when someone adds tags to a record;
- is reused, not duplicated, if someone types its name on a record.
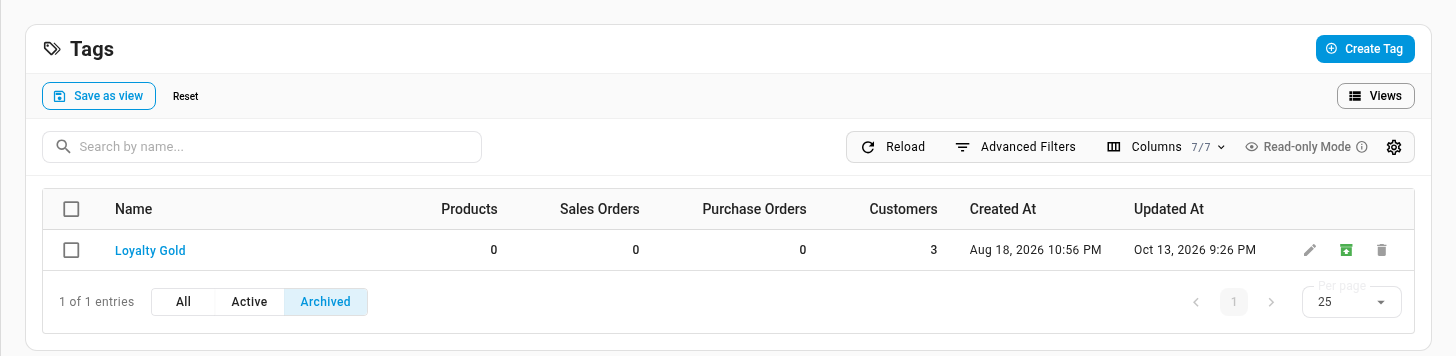
To see archived tags, choose Archived at the bottom of the list, or All to see every tag. To bring one back, click the same icon on its row, which now reads Unarchive.
Delete a tag
You can only delete a tag that nothing uses.
- Click the bin at the end of the tag's row.
- Click Delete to confirm.
If any record still carries the tag, SKU.io refuses and tells you that you may only archive it. Archive it instead, or remove it from those records first.
To archive, unarchive or delete several tags at once, tick their boxes and use the buttons that appear above the list.
Next steps
- Tag a customer
- Add notes, tags, and custom fields to a sales order
- Notes, tags, custom fields, and the activity log on a purchase order
- Segment profitability by customer tag
Video transcript
Tags are short labels your team puts on products, orders, customers and bills, for filtering and reporting. Everyone on your account shares the same set of tags. To manage them, open Settings, at the very bottom of the left sidebar. Click the General card at the top of the page to expand its list. Tags is the second entry, so choose it. The page that opens lists every tag in your account, one per row. Each row counts the products, sales orders, purchase orders and customers that carry the tag. These tags are all used on customers. To add a tag before anyone uses it, click Create Tag. Type the tag's name, for example Back-order watch, and then click Create to add it to the list. Typing a new name on any record also creates a tag. To rename a tag, click the pencil at the end of its row. Type the new name over the old one, and click Update to save the change. The new name shows everywhere the tag is used, because every record shares the same tag. When a tag has served its purpose, archive it with the box icon. An archived tag stays on every record that already has it, but it's no longer offered when someone adds tags. Read the note, then confirm with the Archive button. To see the tags you've archived, choose Archived at the bottom of the list, which shows only retired tags. Delete only works on a tag that no record carries. Go back to the Active view, at the bottom of the list. Click the bin at the end of that tag's row, and then confirm with Delete to remove it for good. For a tag that's still in use, archive it instead.