Choose how expense bills sync to Xero or QuickBooks
Each Xero or QuickBooks Online connection has one choice for expense bills: who enters them. Either you enter them in SKU.io and SKU.io creates them in your accounting system, or you keep entering them there, or they stay in SKU.io. Supplier rules make exceptions for single suppliers. Landed cost bills keep their own separate switch.
Before you begin
- Connect Xero or QuickBooks Online first. Without a connection, the Bills settings ask you to connect one.
- You need the Bill sync settings permission (
accounting.bill_sync). Admins and roles that can edit accounting settings have it.
Steps
-
Go to Accounting → Settings → Sync, and scroll to Bills.
-
Under Expense bills: who enters them?, choose one:
Choice What happens Send to Xero (or QuickBooks) You enter bills in SKU.io, and SKU.io creates them in your accounting system. Stop entering them there. Keep entering in Xero Your accounting system owns these bills. SKU.io never sends them. Find bills in Xero brings them in, and New bill warns before anyone enters one in SKU.io. Keep in SKU.io only Nothing moves. Use it when someone else books these bills. 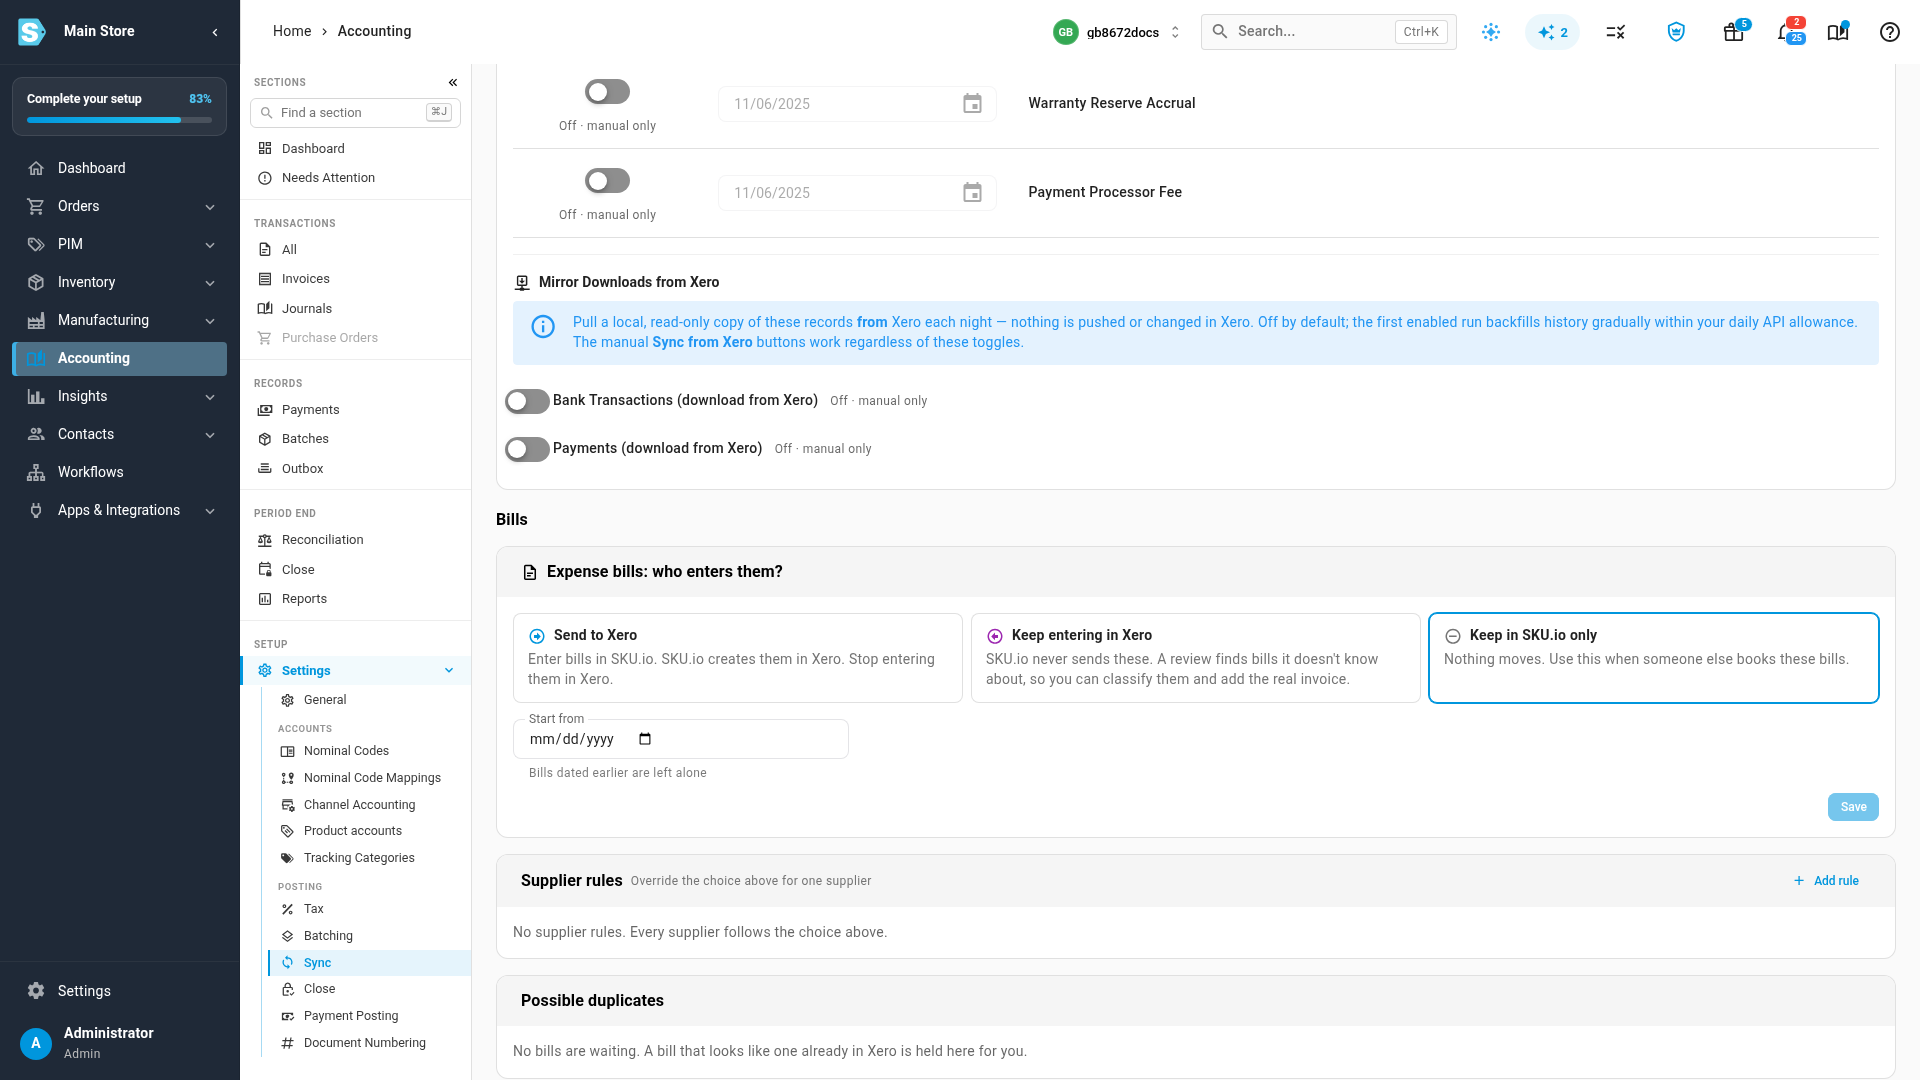
-
For Send to Xero, set Start from. Bills dated earlier are left alone.
-
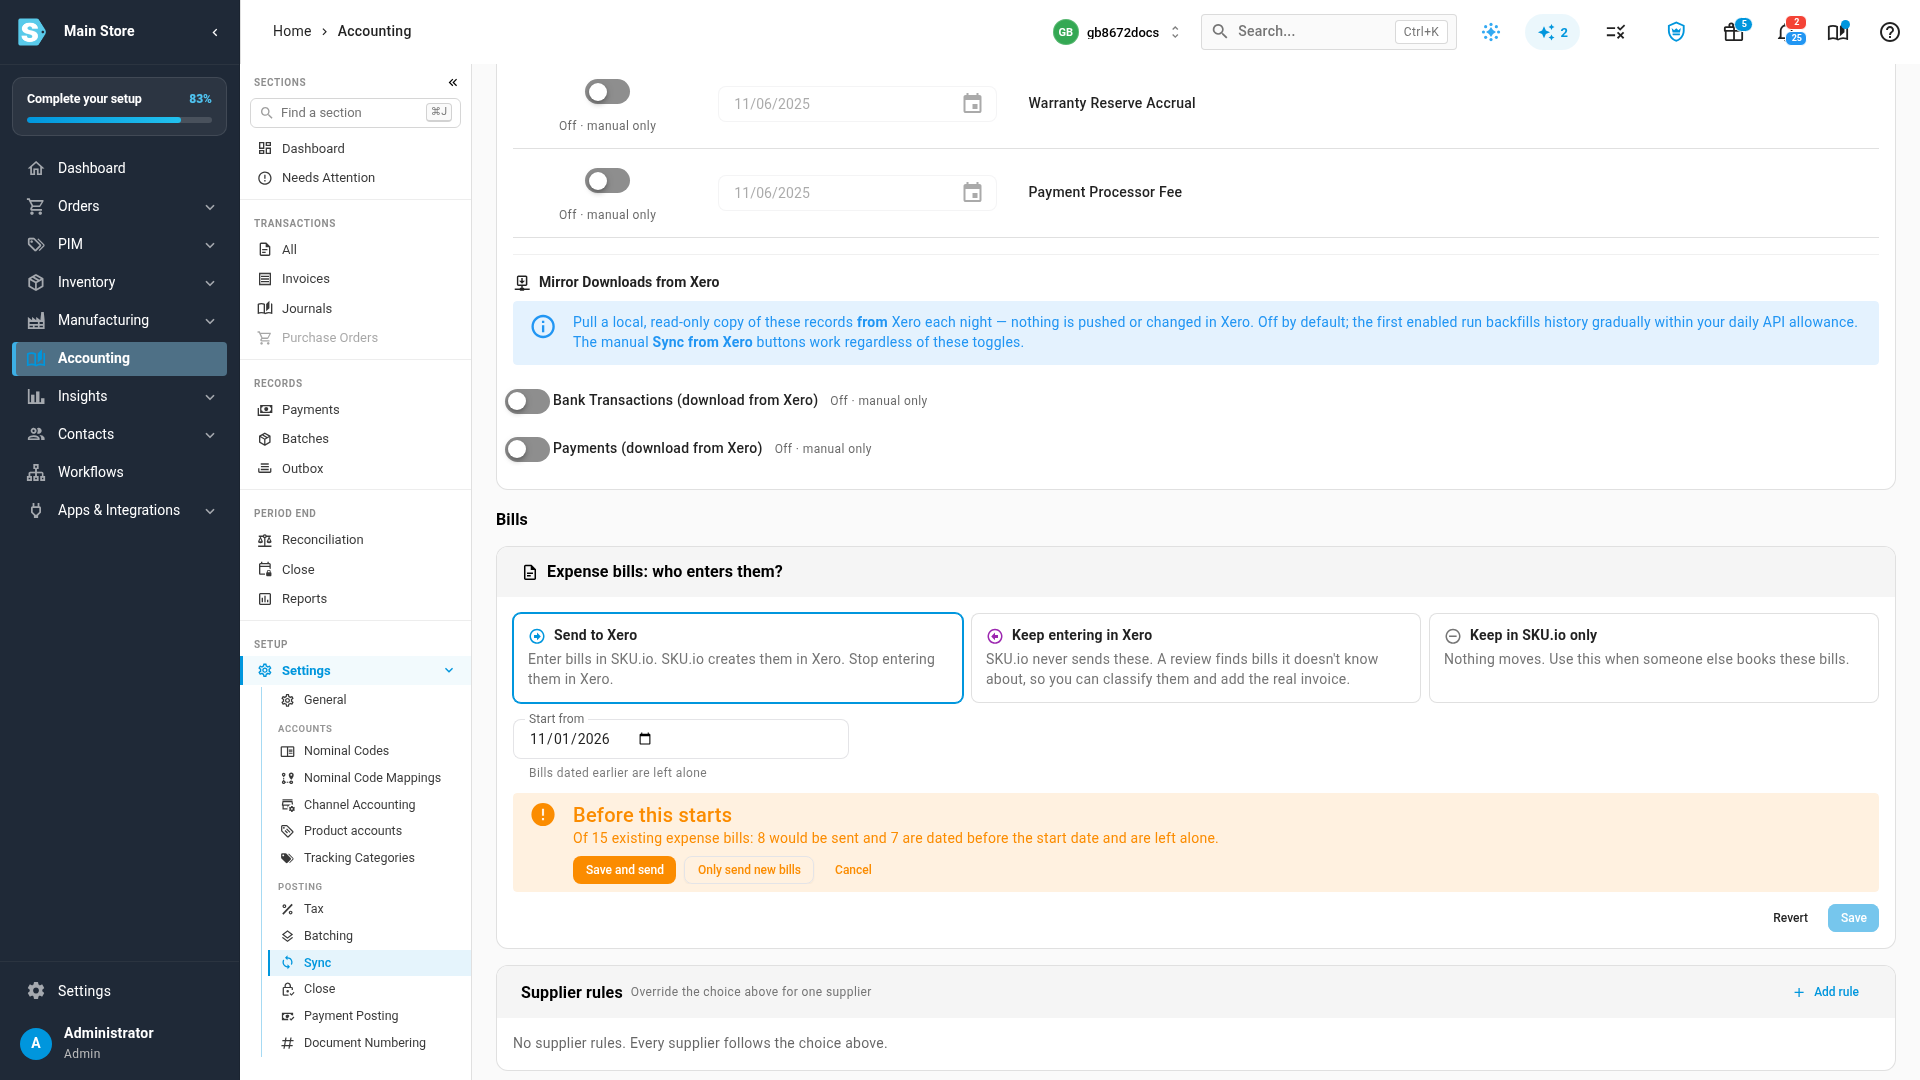
Click Save. Before anything changes, Before this starts says what would happen to your existing expense bills, for example "Of 17 existing expense bills: 10 would be sent and 7 are dated before the start date and are left alone."
-
Choose Save and send to send the existing bills from the start date too, or Only send new bills to leave existing bills where they are. Cancel changes nothing.
Add a supplier rule
A supplier rule overrides the choice above for one supplier. For example, keep payroll in Xero while SKU.io sends everything else.
-
Under Supplier rules, click Add rule.
-
Pick the Supplier and the Rule: Send to Xero, Keep entering in Xero, or Keep in SKU.io only.
-
Add a Note so your team knows why, and click Save rule. A rule that would send bills shows the same preview first.
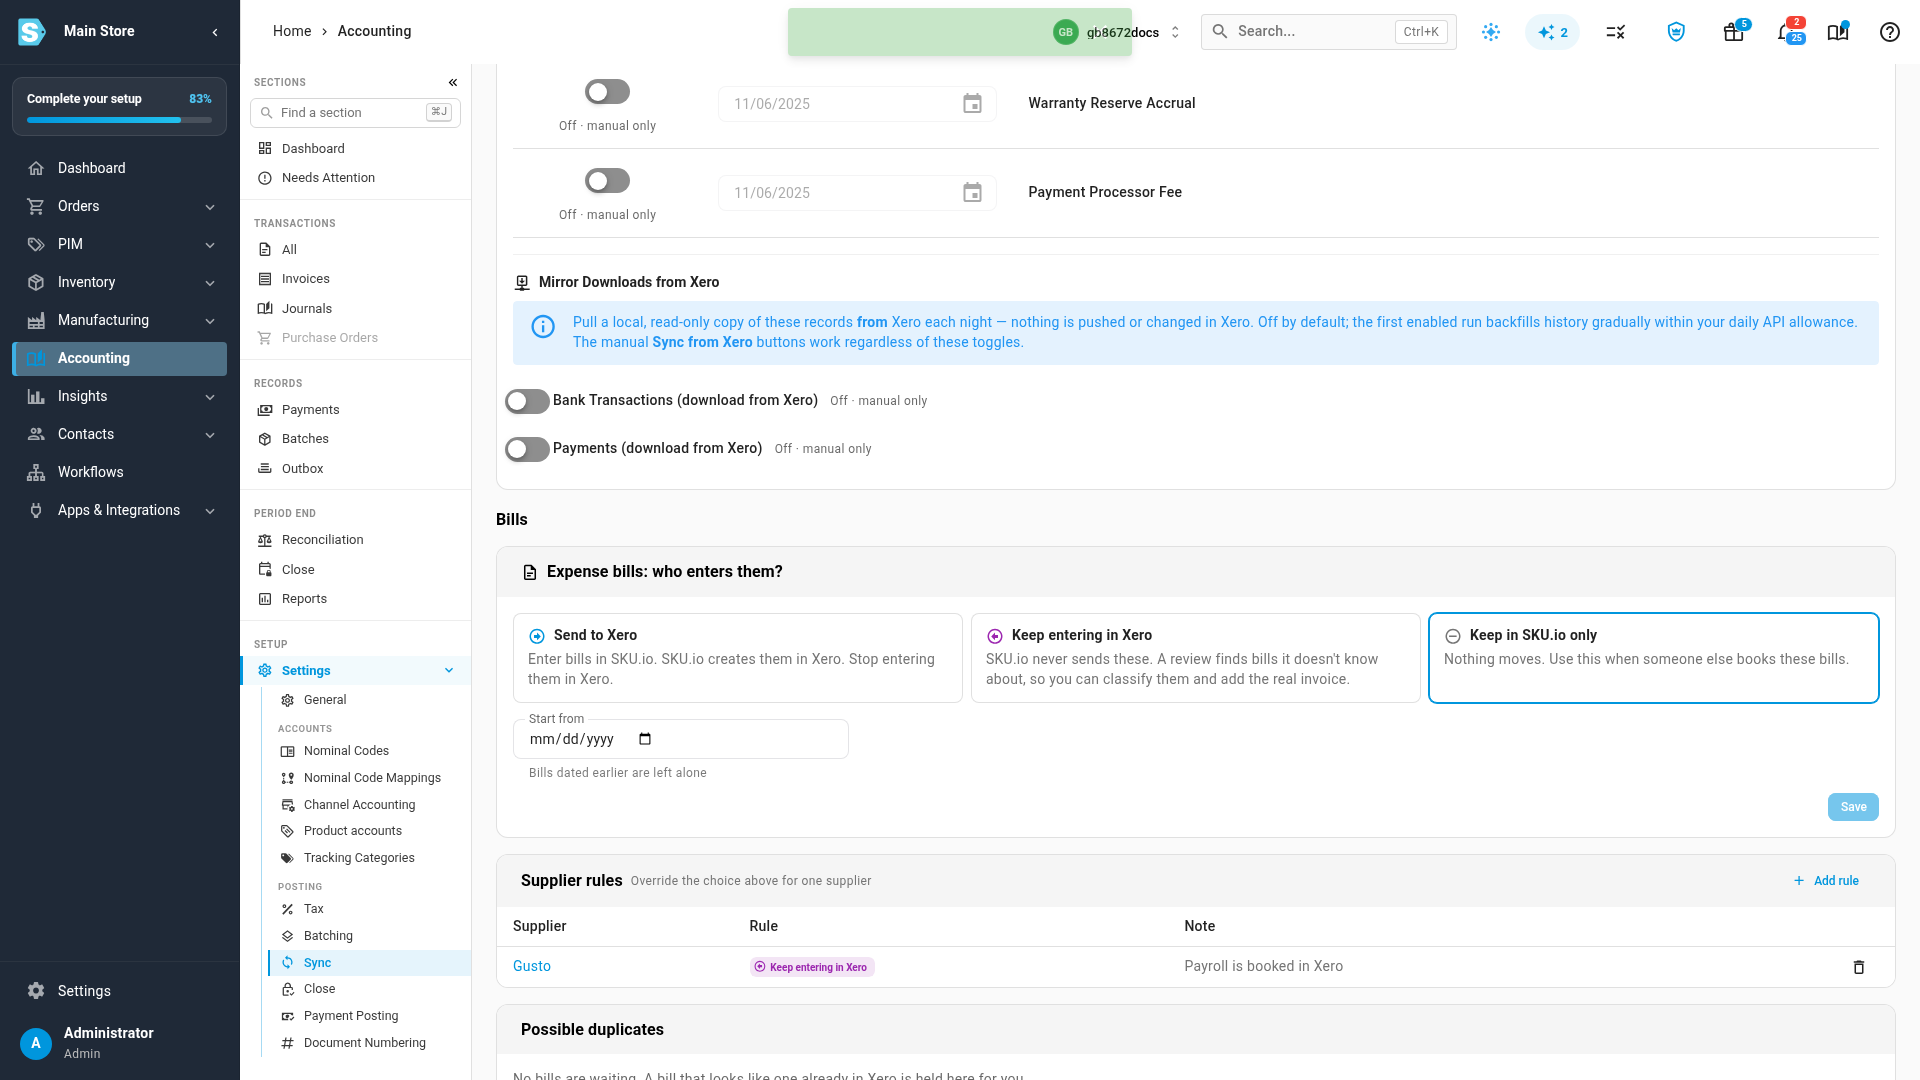
To remove a rule, click the delete icon on its row. The supplier then follows the choice above.
What happens to bills already in your accounting system
| Situation | Result |
|---|---|
| A bill already linked to Xero, and you stop sending | It stays linked. Nothing is voided. Later edits stop syncing, and the bill says so. |
| A bill not yet sent, dated on or after the start date | It's sent in the background. Follow it in the job tray. |
| A bill not yet sent, dated before the start date | It's left alone. |
| A bill that looks like one already in Xero | It's held as Possible duplicate, not created twice. |
| A rule changed while a bill is being sent | That send finishes; later edits follow the new rule. |
Possible duplicates
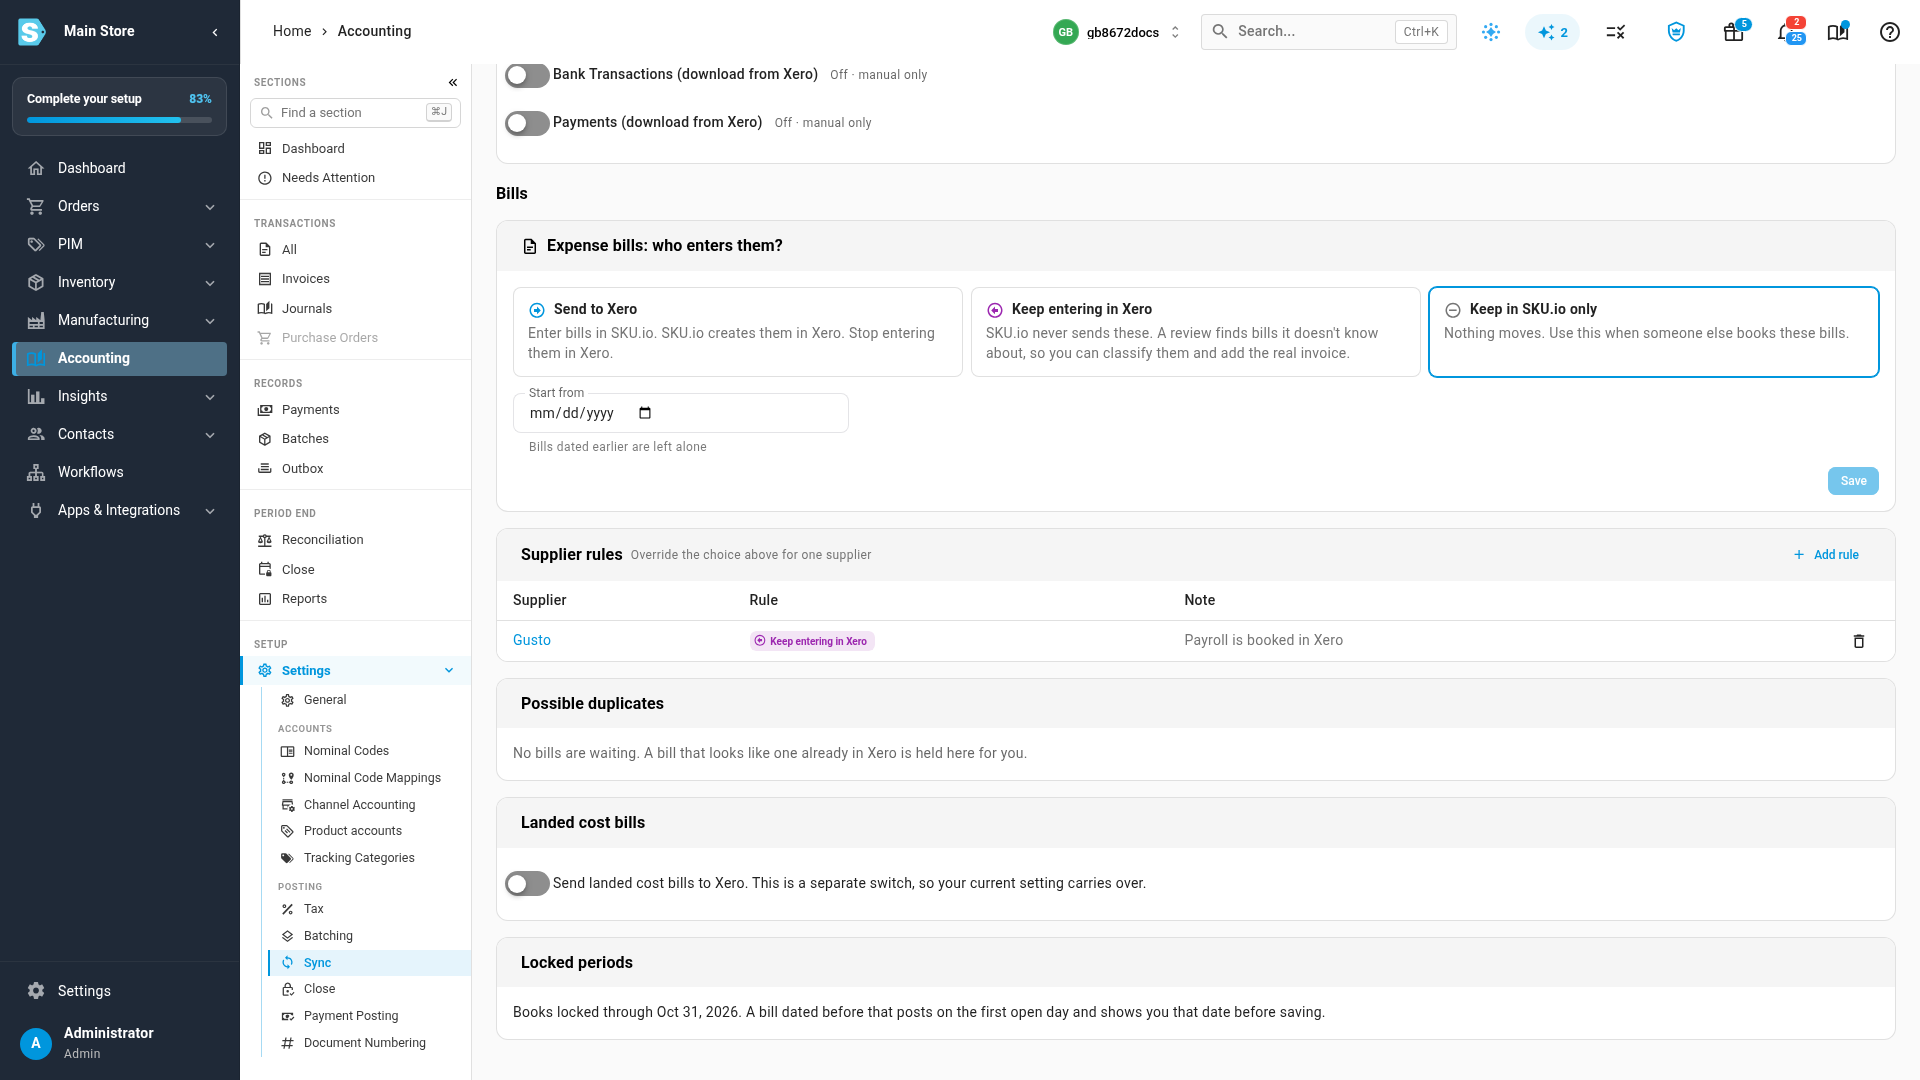
Before SKU.io sends a bill, it checks for a matching bill from the same supplier in your accounting system. A match isn't sent. It waits under Possible duplicates on this page, and the bill's accounting status reads Possible duplicate. For each one, click Link them so SKU.io's bill points at the one already there, or click Not a duplicate and then Send to create it as a new bill.
Landed cost bills and locked periods
- Landed cost bills has its own switch, Send landed cost bills to Xero. Your setting from before expense bills existed carries over.
- Locked periods shows the date your books are locked through. A bill dated before it keeps its invoice date but posts on the first open day, and the bill shows that date before you save. If your accounting system refuses a bill, its status reads Needs action, with the provider's message on the bill.
Next steps
- Enter an expense bill: see where each bill goes before you save it.
- Find bills in Xero or QuickBooks: bring in the bills you keep entering there.
- Resolve an entry held as a possible duplicate: the same hold for other kinds of entries.
Video transcript
Expense bills follow one sync choice for each accounting connection. To set it, open Accounting, then Settings, and choose Sync. The Sync page lists every type of entry first, with the Bills settings further down the page. Scroll to Bills. Send to Xero means you enter bills in SKU.io, and SKU.io creates them in Xero. Keep entering in Xero means Xero owns them, and a review finds the ones SKU.io doesn't know. Keep in SKU.io only sends nothing. Choose Send to Xero, and pick the date to start from. Bills dated earlier are left alone. Click Save, and SKU.io tells you what would happen before anything moves. Save and send also sends the existing bills from that date. Only send new bills leaves existing bills where they are. We'll cancel, and keep the current choice. To treat one supplier differently, click Add rule. In the dialog, pick the supplier first, and then pick the rule that its bills should follow. Here, payroll stays in the accounting system. Add a short note so your team knows why the rule exists, and then save the rule. The new rule appears in the list, and it always beats the choice above. Possible duplicates lists bills SKU.io held, because Xero seems to have them already. Landed cost bills keep their own switch below. Locked periods shows the date before which bills post on the first open day.